
Learn How to Make the Perfect Bow Just in Time for Christmas
"Hearst Magazines and Yahoo may earn commission or revenue on some items through the links below."
DIY crafts are a great way to spice up the holiday season. From sewing together the perfect 90's themed scrunchie to crocheting a Christmas stocking to gift or mount, there are plenty of family or solo activities to try out (including do-it yourself Christmas cards for a personal touch).
If you’re looking for a fun DIY activity to add to your list, learning how to make a bow is a great addition. Not only do they add flare to home and package decorations, but they’re easy crafts for any DIY beginner.
With these simple steps, we’re showing you how to make three types of bows: a simple twist bow, a double looped bow and a bouquet bow (perfect for newbies and pros alike). Watch the video above to get all the step-by-step visuals you need
How to Make a Simple Twist Bow (Perfect for a Present)

What You'll Need:
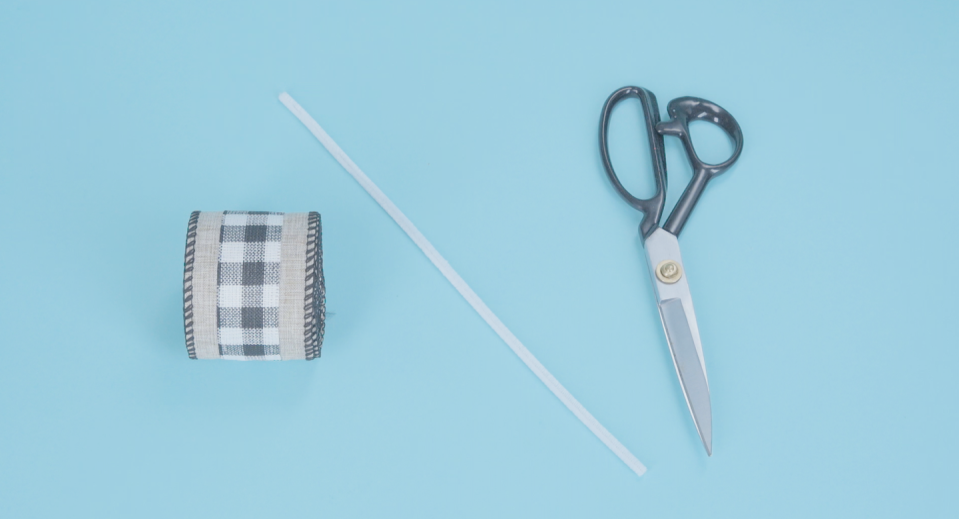
Instructions:
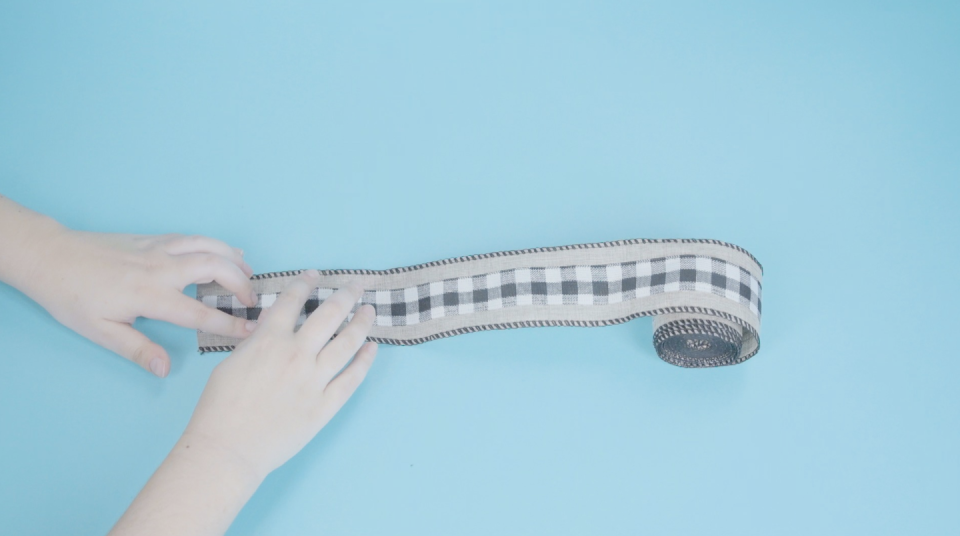
Create a Tail: Unroll your ribbon by 8 inches. Then pinch at the top to hold your place.
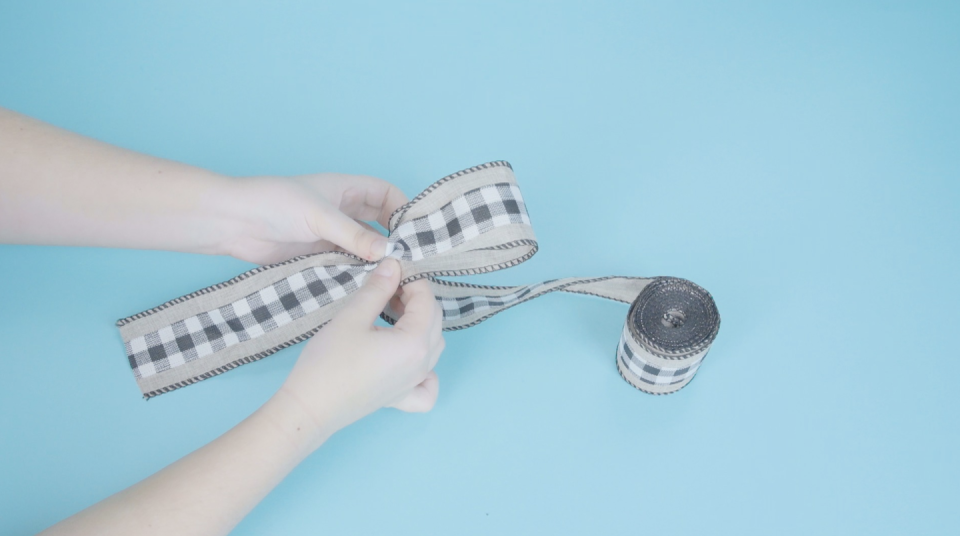
Photo credit: Hearst Owned Make a Loop: Unroll another 8 inches of the ribbon, pinch it in place and fold it in half to create your first loop.
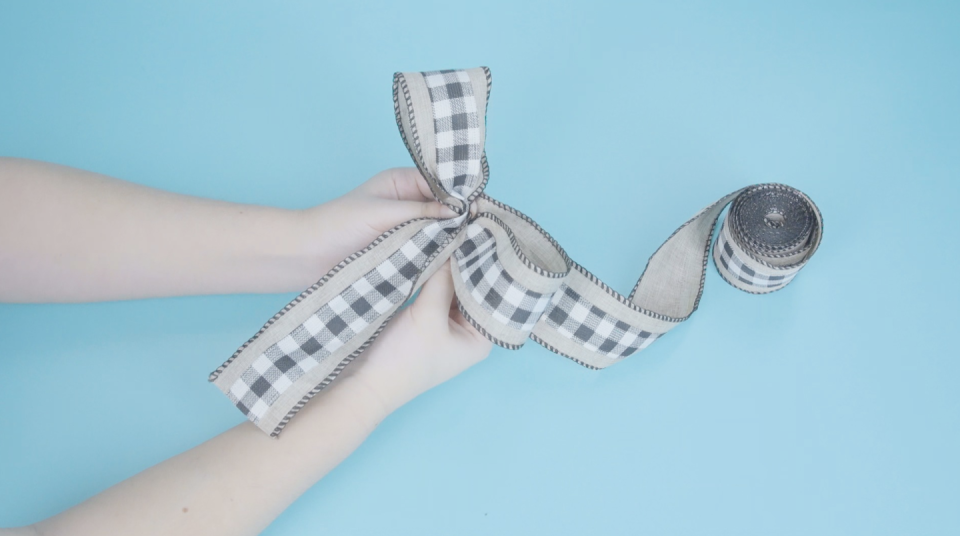
Photo credit: Hearst Owned Another loop: Unroll another 8 inches of your ribbon, pinch it and fold it in half to connect with the others.
Photo credit: Hearst Owned Remove Excess Ribbon: Cut off the excess ribbon, leaving an 8-inch tail on both sides.
Photo credit: Hearst Owned Hold Everything in Place: Take your pipe cleaner and twist it around the pinched section. This will keep your ribbon together.
Photo credit: Hearst Owned

How to Make a Double Looped Bow (Great for a Wreath)

What You'll Need:
Two 14-inch pieces of 2.5-inch wide ribbon
One 12-inch piece of 2.5-inch wide ribbon
One 6-inch piece of 2.5-inch wide ribbon
Instructions:
Create a Loop: Hot glue the edges of your 12-inch and 14-inch ribbon to create two loops.
Glue Them Together: Add a drop of glue to the middle of your larger loop before placing the smaller one on top.
Accordion Fold: Place your other 14-inch ribbon underneath your glued loops and pinch them together in the middle.
Secure Your Bow: Wrap and twist the pipe cleaner over the folded parts in the middle to keep all of the pieces together.
How to Make a Bouquet Bow (For Either a Wreath or Present)
What You'll Need:
Three 20-inch pieces of 2.5-inch wide ribbon
Three 20-inch pieces of 2.5-inch wide ribbon in a different pattern
Three 20-inch pieces of 1.5-inch wide ribbon
Instructions:
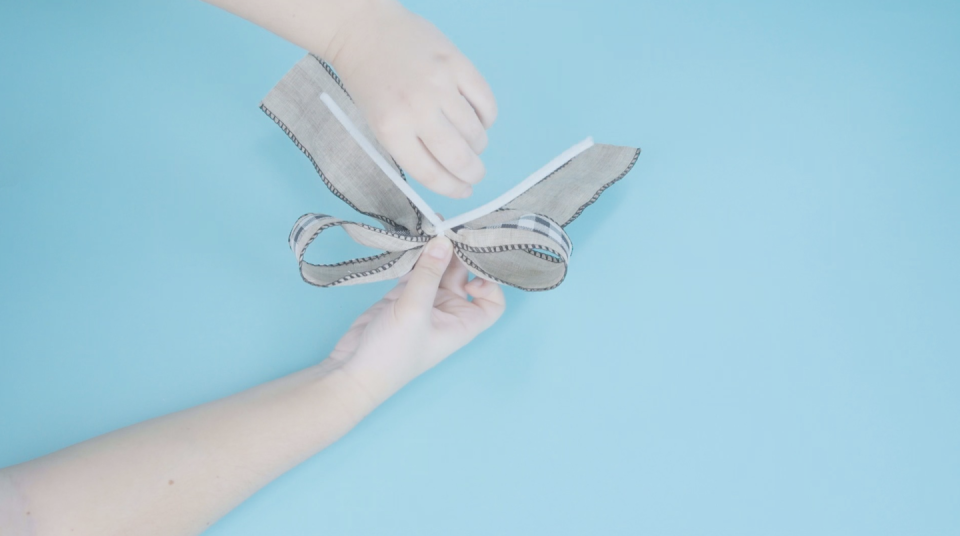
Make a Loop: Take one of the ribbons and measure down 12 inches. Hold the spot in place before folding your ribbon in half to create a loop.
Repeat and Combine: Follow the first step for all of your ribbons and accordion fold them together. Keep your thumb in the middle to hold all of the ribbons together.
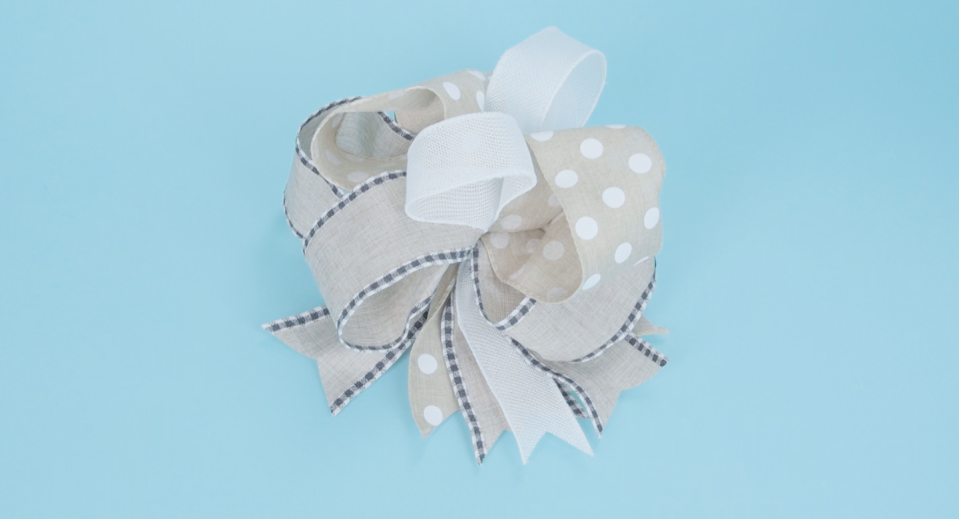
Add a Bit of Fluff: Move your pieces around and fluff them up to create your desired look.
Keep Them Secure: Wrap the zip tie around the middle pieces to keep your ribbons together.
Trim: Remove part of the zip tie so it doesn’t stick out.
Tip: Cut the ends of your ribbons diagonally or in A.V. for a different look. You can also cover the pipe cleaner with pieces of excess ribbon for a cleaner look.
You Might Also Like

