
4 steps to a Kardashian-worthy contour

[Photo: Make Up For Ever Canada]

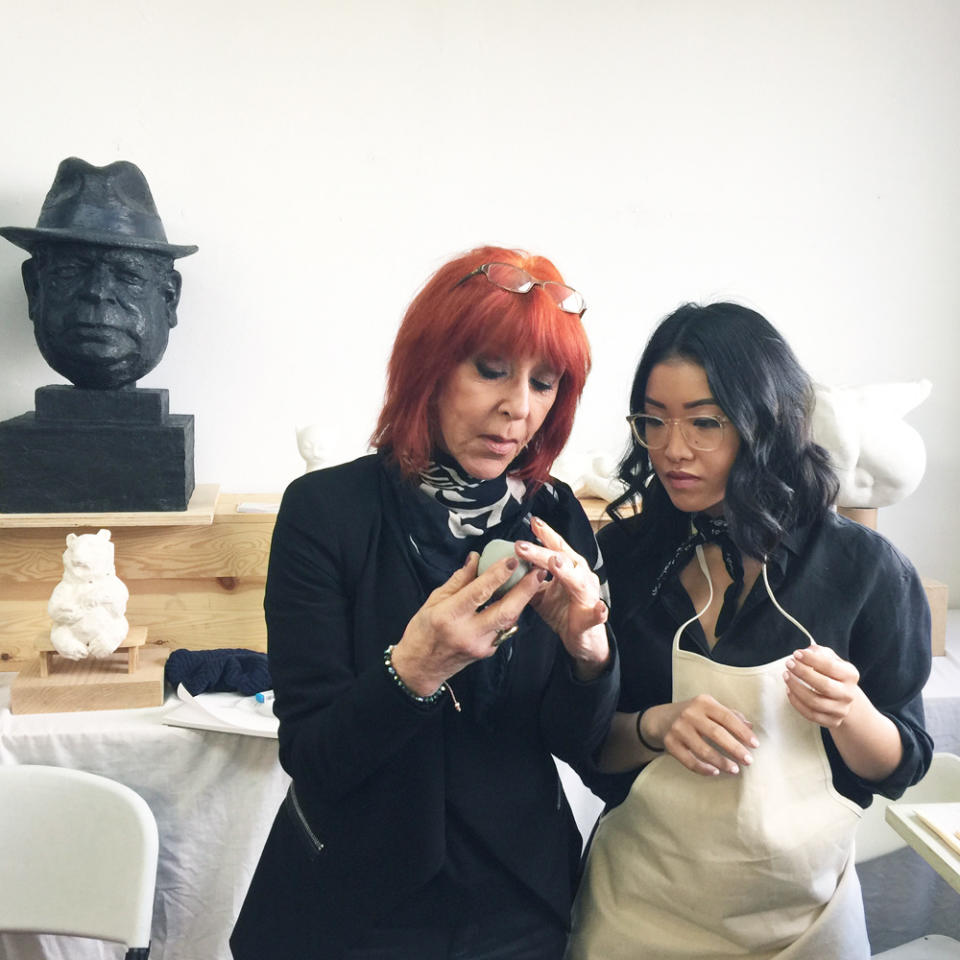
Last month, I spent some time in Vancouver sculpting clay with Dany Sanz, the founder of Make Up For Ever. Yup, sculpting and moulding. With Clay. (This will all make sense, I promise.)
[Photo: Make Up For Ever Canada]
Before starting Make Up For Ever, Sanz was a painter and a sculptor which gave her a useful and unique understanding of how different surfaces can affect light and shadow.
Similarly, all faces are created with unique combinations of planes (surfaces) that govern light and shadow, which creates the effect of softer or stronger features.
Being able to mould the clay with our hands and manipulate its planes to control light and shadows definitely provided some perspective.
Unlike the clay, we (unfortunately) can’t mould our faces to have our desired high cheekbones and chiseled jawlines, but we can create the illusion of it.
After all, as Make Up For Ever pro artist Trinidad Rivas reminded us, “Makeup is the art of illusion.”
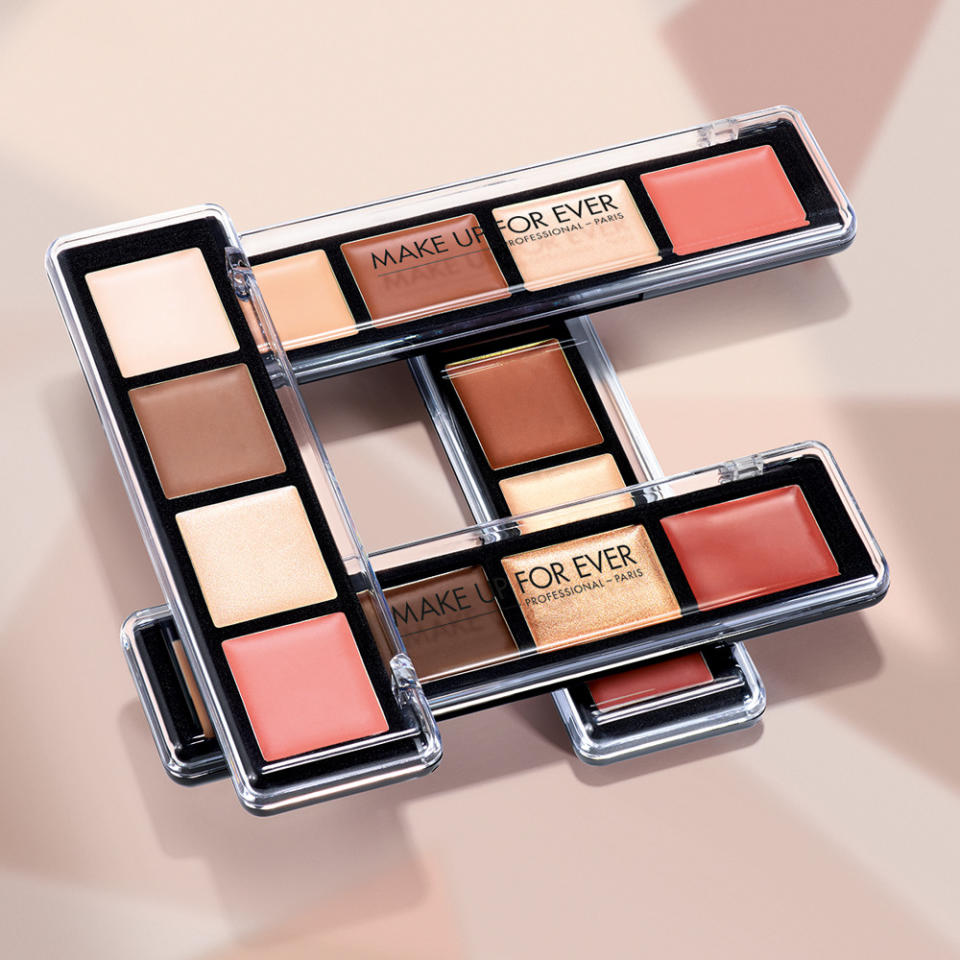
Using the easy four-step Pro Sculpting Face Palette, we learned how to manipulate light and shadow to enhance our natural features.
[Photo: Make Up For Ever Canada]
The palette has four cream formulas — a light matte shade for highlights, a darker contouring shade to add dimension, an iridescent shade to add a subtle shine and a blush tone for a touch colour.
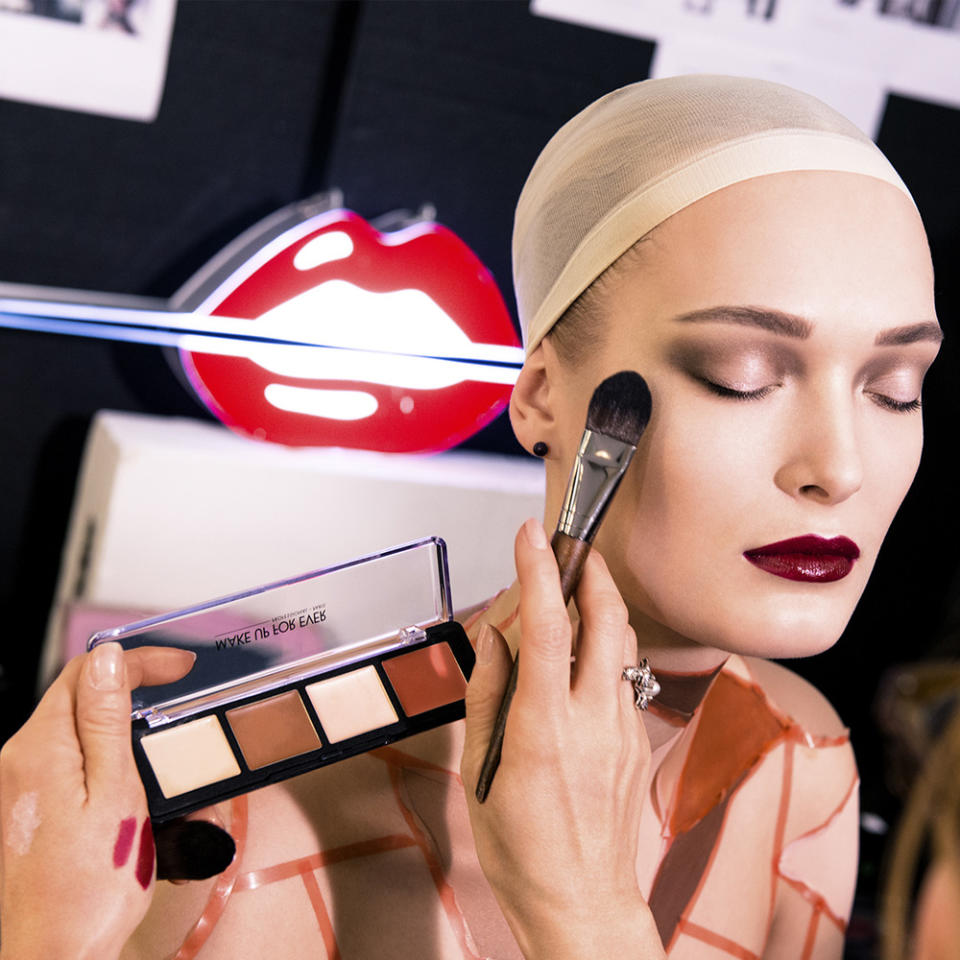
Step 1: Highlight
Using the first light-coloured matte shade, focus on the key areas you want to bring forward, such as under the brow bone, the top of the cheekbones, above the jaw, the bridge of the nose, and I like to add some to the tip of my nose as well. Be sure to blend upwards – blending downwards will create the illusion of your skin “sagging downwards,” which will make you look older.
[Photo: Make Up For Ever Canada]
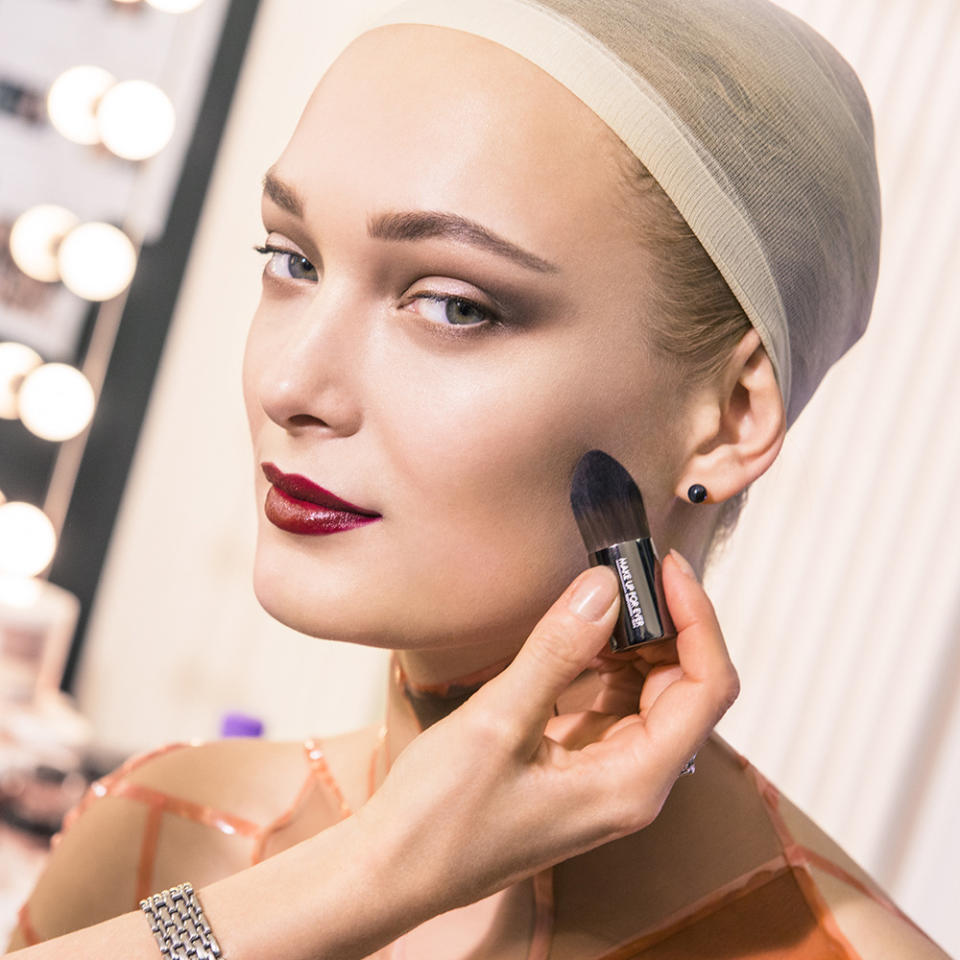
Step 2: Contour
The dark shade in the second palette is what we will use to create shadows and dimension. Key areas to focus on are: under the cheekbones to create that chiseled look, along the sides of the nose to give definition to the bridge, and under the jawline. Again, blend upwards with small strokes towards the ears.
[Photo: Make Up For Ever Canada]
Step 3: Enhance
Apply a touch of the iridescent light shade in the third palette on all the highlighted areas from step 1.
Step 4: Blush
Finish the look off by sweeping the blush from the last palette over the cheeks for a touch of colour.
That’s it! Who said contouring had to be complicated?
The key is to be able to pinpoint the right planes to add highlights or deepen shadows and also to blend outwards and upwards to avoid hard lines and “dragging down” your face. Of course, as with all makeup, it is important to choose the right colours for your skin tone too.
Do you have any contouring techniques you swear by? Leave a comment below or tweet at us @YahooStyleCA.

Interested in writing for us? Join our Yahoo Blogger Network!

