How to make an autumn wreath: a step-by-step guide
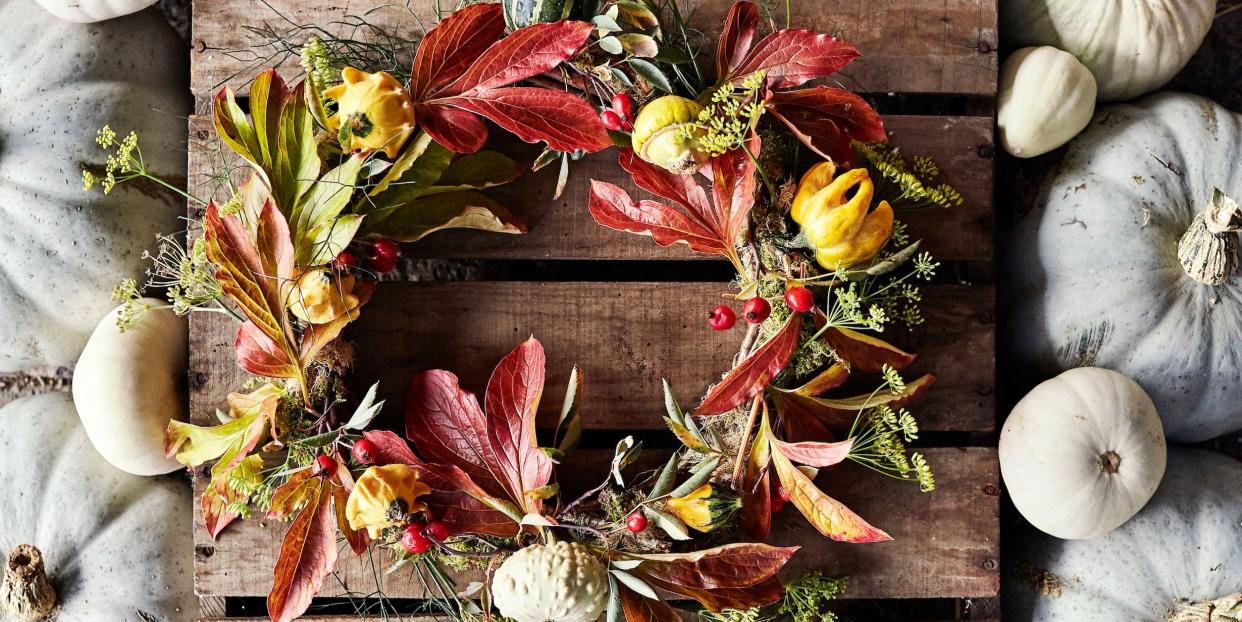
One of our favourite ways to welcome guests and embrace the changing seasons is by hanging an autumn wreath on our front door.
While there are several great pre-made options available, there's nothing more satisfying than taking the time to make your own. We asked the experts to give us their top tips for trying out this fun DIY project.
You will need:
• A wire, straw or grapevine wreath form
• Floristry wire
• Moss (optional)
• A pair of scissors
• Foraged autumnal items (leaves, pinecones, acorns, chestnuts, etc.) and/or dried flowers
• A loop of ribbon or twine
How to make an autumn wreath: a step-by-step guide
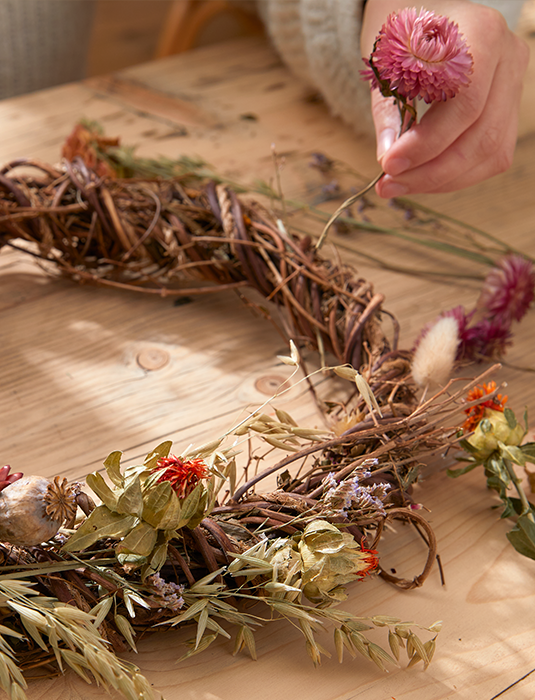
1. Gather your materials
"For the base, you can use a straw or grapevine wreath form," David Denyer, Flower Expert at Eflorist, tells Country Living. You can forage fallen leaves from your garden or local park to use in your wreath. Given the time of year, there should be plenty of colourful foliage and leaves to choose from.
According to David, you should also look for "natural decorations, such as the evergreen ivy and holly, pinecones, acorns and chestnuts" for a pretty display.
Another great way to reuse what you already have is to give new life to an existing bouquet which might be on its way out, such as by drying the stems. "The easiest way to do that is to hang them upside down in a dark and dry room," says Lucy Hook, Bloom & Wild's Flowers Category Manager
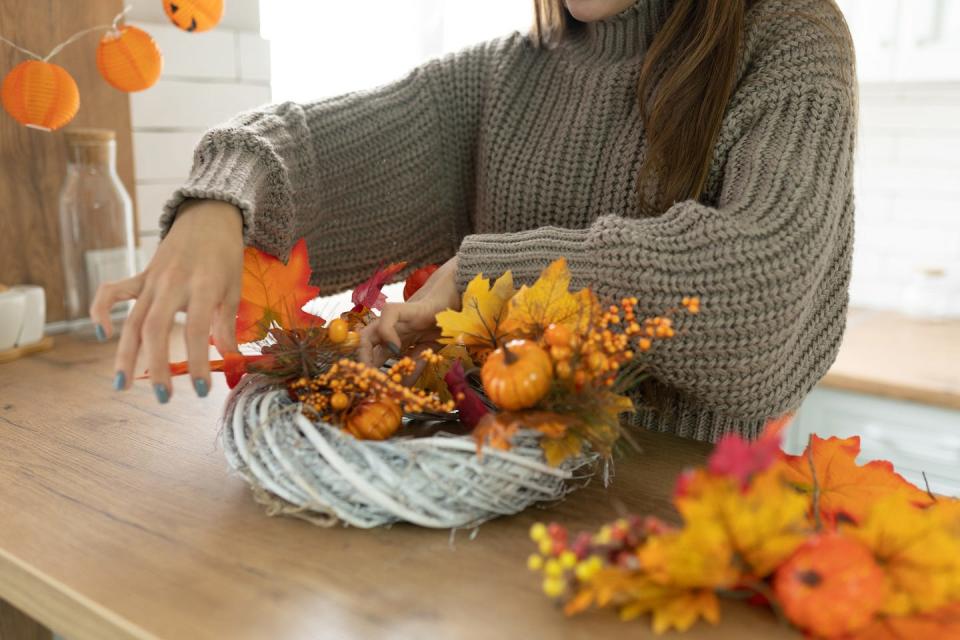
2. Prep your wreath
With your materials gathered, you can then start to prepare the base.
"If you're using a straw wreath, you might need to fluff it up to give it a more natural look," says David. Whereas, "if you're using a grapevine wreath, ensure it looks secure and there aren't any loose twigs." You could also try incorporating moss to give it a fuller appearance.
"If you do decide to add moss, start by wrapping it tightly with the wire around your wreath ring, leaving gaps of about 4 cm between each loop," adds. Then "cut the wire and twist the ends together when you've made a full circle."
3. Start arranging
You can then cut any longer stems to about 8-15 cm long. Aim to lay stems in groups of two to three while staggering them slightly so the tips lay slightly below each other.
Keep going by gathering smaller bunches of foliage together and laying them diagonally across the wreath ring, making sure to tightly secure the ends to the ring with some wire. Continue working clockwise without cutting the wire, making sure to tuck your final section of stems beneath the previous ones.
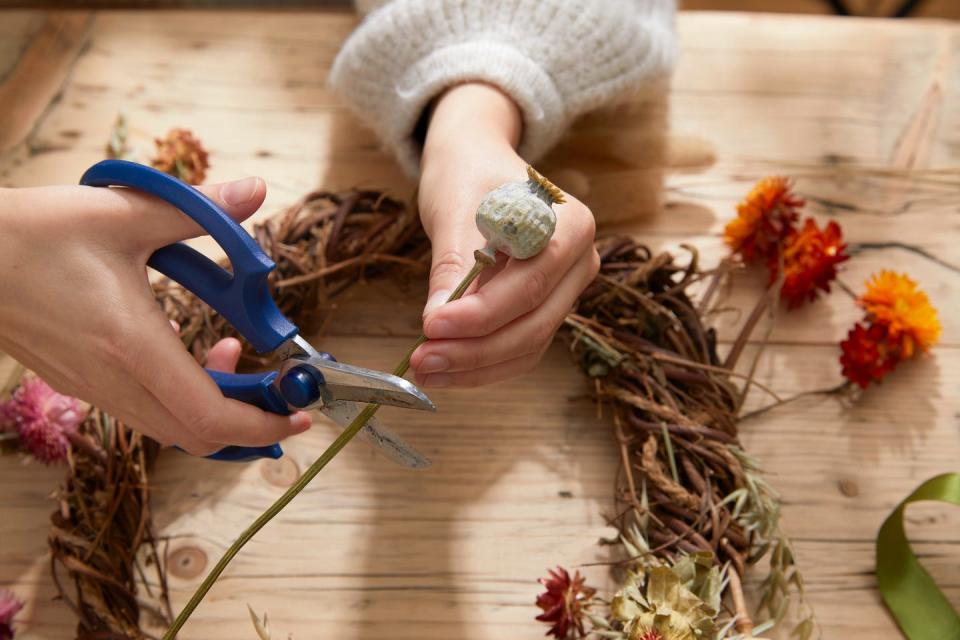
4. Add the final touches
Once you're happy with the fullness of your base, you can add those fun final touches. "Attach your pinecones, acorns and chestnuts using wire or floral tape," says David. You can also attach any dried flowers to add a pop of colour.
5. Display your wreath
Before you go to pick it up, check that everything will remain securely in place once you go to hang it. Once it's all secure, you can attach a loop of ribbon or twine at the top to hang your handmade autumn wreath wherever you choose.
We love to proudly display ours on our front door but you can also hang it over an internal door that where you can enjoy it as you move around your home, such as in your living room or hallway.
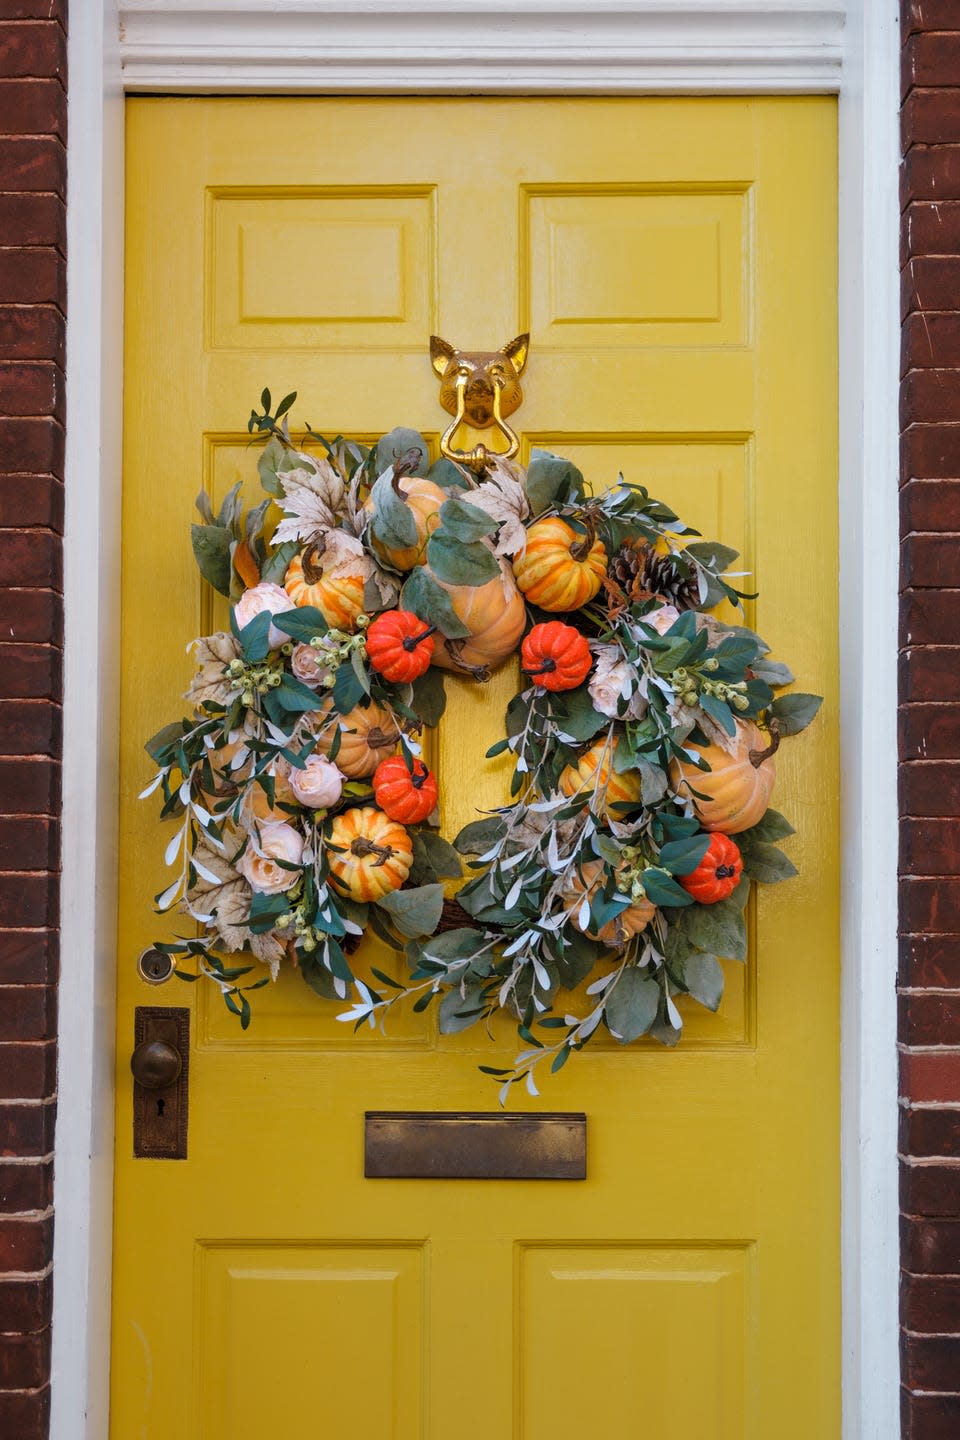
What can you add to make it a Halloween wreath?
And if you want to jazz your autumn wreath up for Halloween, you can easily add a few fun details to completely transform it.
Lucy recommends "adding more unusual stems and orange-toned blooms. Like physalis (they're like little pumpkins!), strelitzia flower, celosia (which look brain-like), kangaroo paw and thistles." While David suggests "dried thistle, rosemary or eucalyptus to make the wreath more Halloween-specific."
You Might Also Like


