How to safely remove Shellac or gel nail polish at home
Looking for more of the best deals, latest celebrity news and hottest trends? Sign up for Yahoo Lifestyle Canada’s newsletter!
Yahoo Lifestyle Canada is committed to finding you the best products at the best prices. We may receive a share from purchases made via links on this page. Pricing and availability are subject to change.
Trying to stay busy and entertained while social distancing over the past few days has been a challenge, but being stuck at home has reminded me of one thing — I need to dedicate more time for self-care. On top of regularly masking my hair and skin, constantly washing my hands and napping, I've also been thinking about how to resolve my current nail situation: overly outgrown gel polish. Being unable to professionally remove the gel polish and to get a new set at a salon has been one of the biggest changes to my regular routine (if you know me, you know I am the biggest nail art fan).
ALSO SEE:
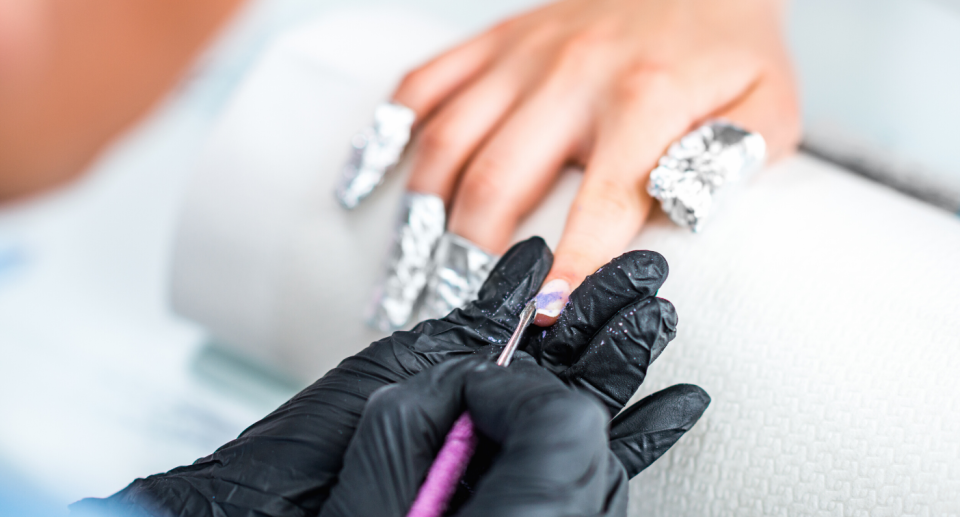
And while the edges of my outgrown manicure are in the early stages of lifting and trapping loose ends of hair, I know peeling and picking off the Shellac/gel polish can eventually lead to weak and vulnerable nail beds prone to damage and breakage. Because my nails have seen better days, to get them (and my spirits) through this period of self-isolation, I decided to reach out to one of Toronto’s best nail artists for expert tips and tricks on how to properly remove shellac polish.
Below, Nargis Khan, master nail artist at Tips Nail Bar, breaks down the essential tools and steps required to carefully remove your Shellac/gel polish at home.
What you need:
100% Acetone
Nail file
Buffer
Tinfoil
Paper towel or cotton balls
Orangewood stick or cuticle pusher
Cuticle oil
Here’s what to do:
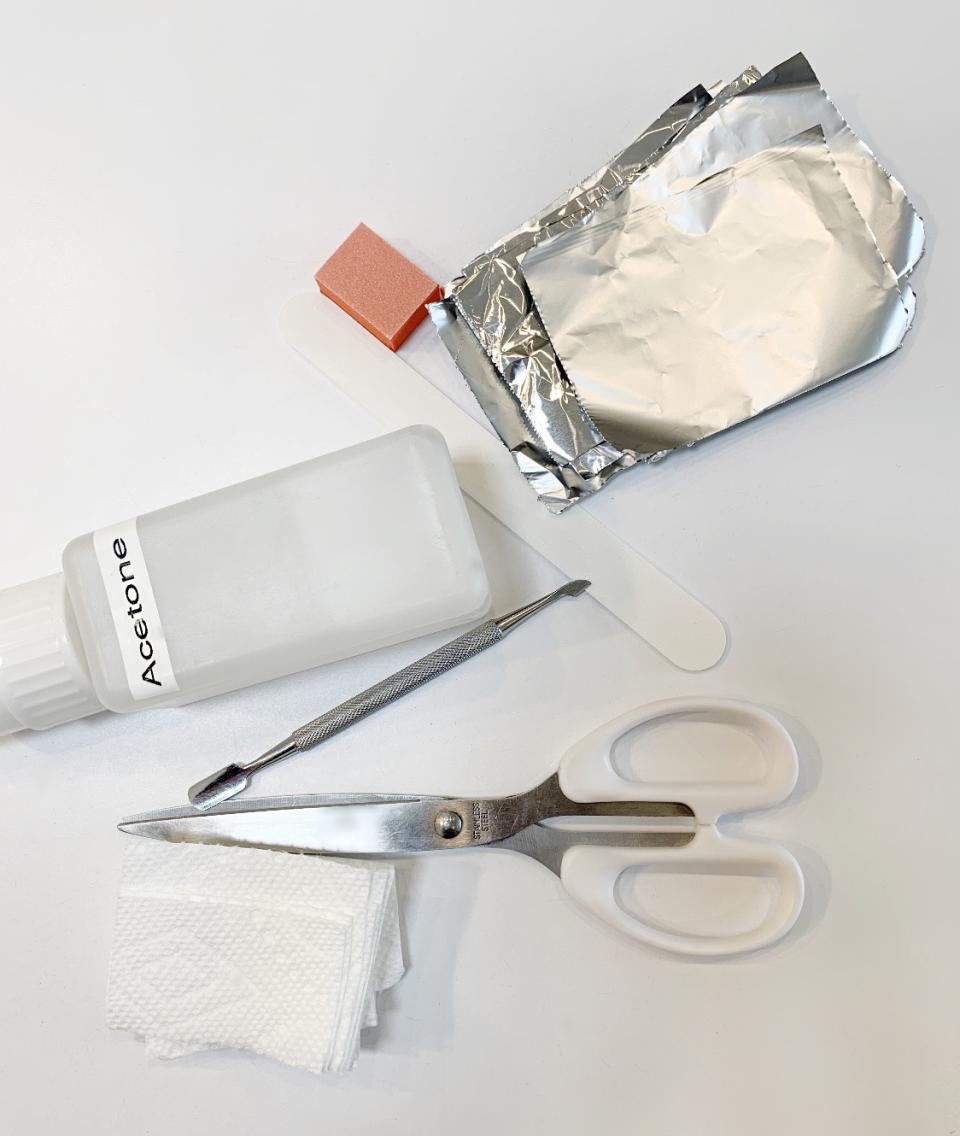
To begin, cut up small squares of tin foil and paper towel.
Step 1: Remove the shine from the gel polish
“Using a nail file, gently file the surface of your nail to remove the shine from the gel polish. Get into the corners as well, so the acetone can soak through evenly. Repeat on all 10 nails,” Khan explains.
Step 2: Wrap it in tinfoil
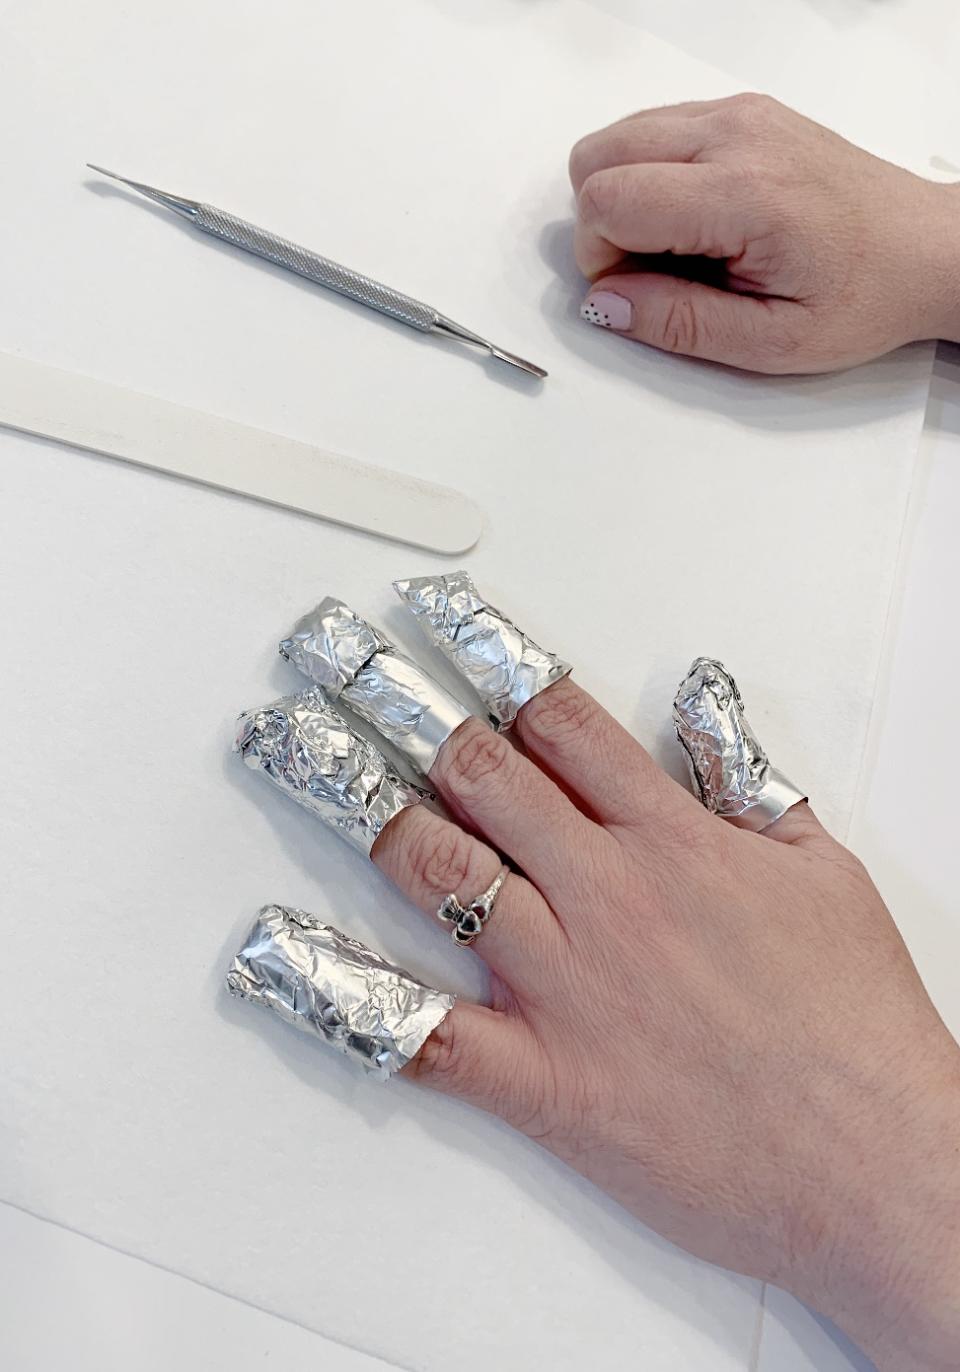
“Take a piece of paper towel and soak in acetone until [it’s] completely wet. This step is important to ensure the nail is well saturated,” the nail artist explains. “Place on the nail and wrap with tin foil into a snug little packet. Repeat on each nail, on one hand [at a time].”
Quo Nail Polish Remover
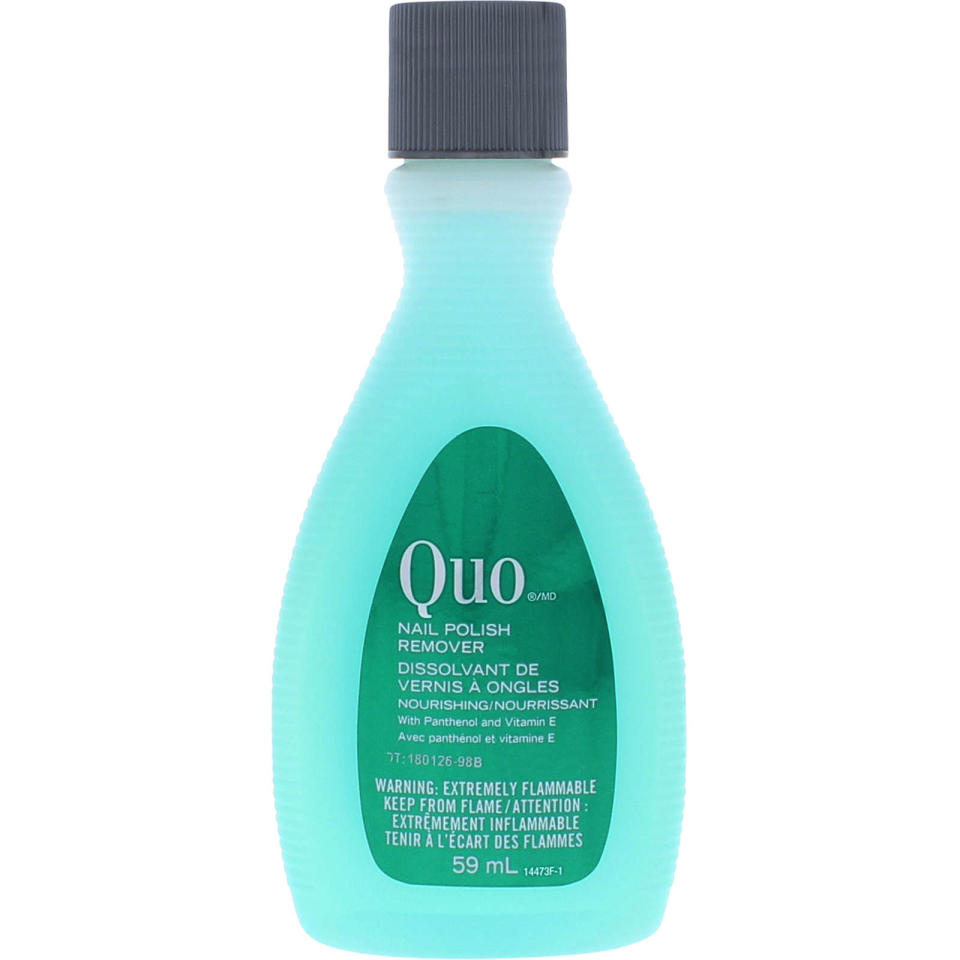
SHOP IT: Shoppers Drug Mart, $2
Step 3: The waiting game
When it comes to safely removing gel, anyone who has had their polish taken off in a salon knows patience is a virtue.
“Wait 15 minutes!” cautions Khan. “This step takes a little patience, but you don’t want to rush this process.”
Step 4: Slough off polish bits.
“One by one, remove the wrap, and gently slough off lifted gel polish bits with an orangewood stick (or cuticle pusher),” Khan advises. “Do not dig or scrape stuck-on pieces — simply rewrap and move on to the next nail.”
KINGMAS 100 Pcs Nail Art Orangewood Stick Cuticle Pusher

SHOP IT: Amazon, $9
Step 5: Get your nails back into shape
Once all polish is removed, Khan says you can now proceed with shaping and filing your nails, if you desire.
“Then with a buffer softly smooth the surface of your nails removing any access product,” she adds.
Step 6: Nourish nails with cuticle oil
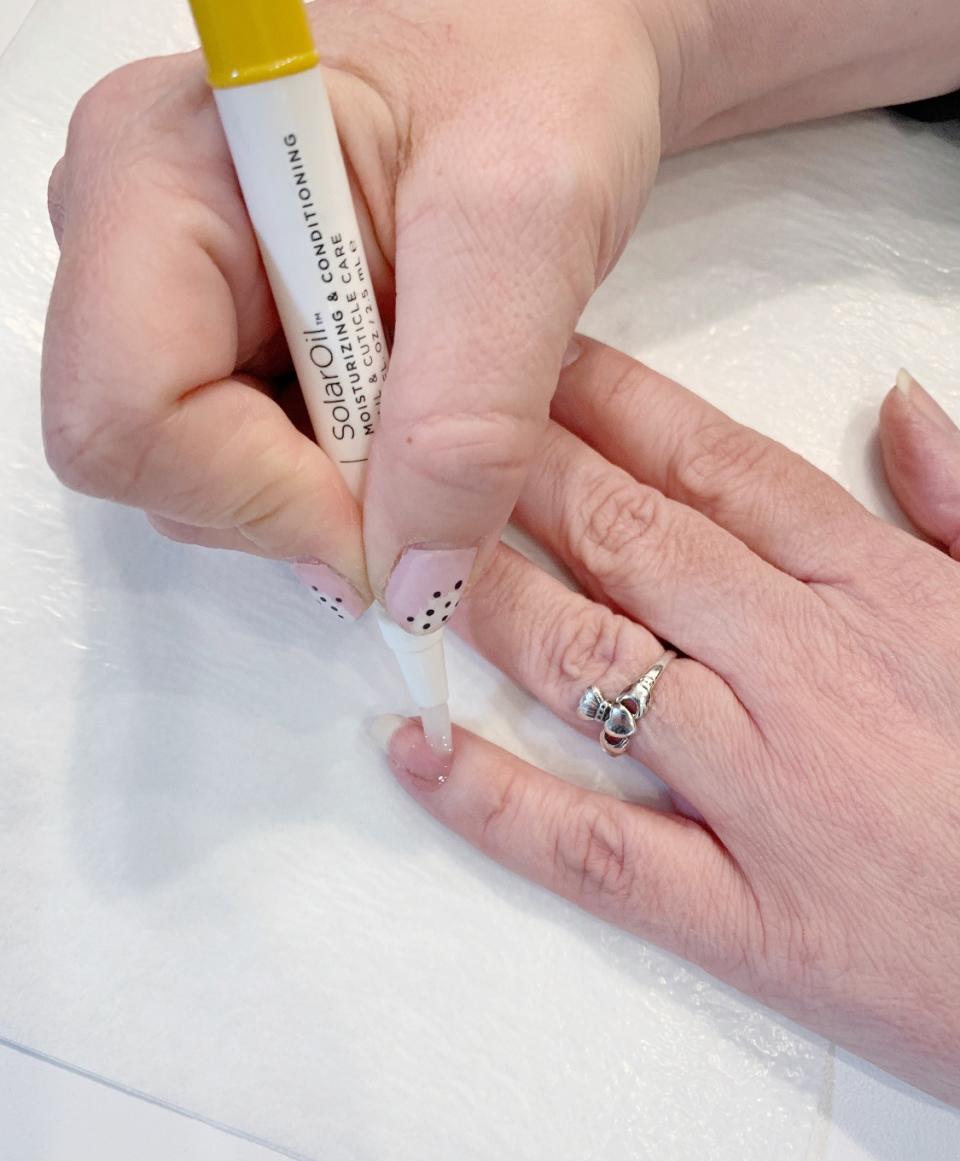
After repeating these steps on your other hand, treat with cuticle oil to keep nails strong and healthy.
Sally Hansen Vitamin E Nail & Cuticle Oil

SHOP IT: Walmart, $8
Let us know what you think by commenting below and tweeting @YahooStyleCA! Follow us on Twitter and Instagram and sign up for our newsletter, coming soon.


