
The Kitchen Tool Hack For Effortless Pie Crimping
If you follow a lot of food pages on social media you know that when it comes to making a pie it's not just about the taste, it also has to look good. Pie crust recipes are one of those things that get passed down from generation to generation, and there's lots of advice for making and baking the perfect pie shell.
When it comes to crimping, however, a lot of us just pinch the two layers of a crust together and call it a day. Pies are pretty simple pastries, so there's only a few chances to make them look picture-perfect. Don't skip on styling your pie crimping just because you don't know how or think that pie crust is difficult to work with. Chances are you probably already own a tool that will make an easy, stylish scalloped edge on your next pie: a pair of tongs.
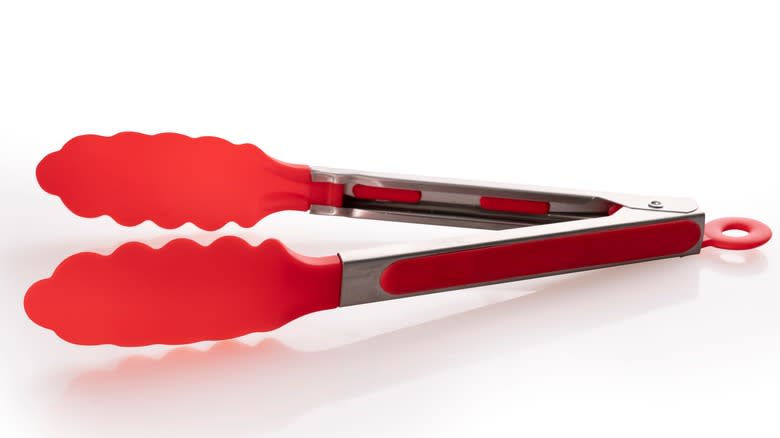
Most standard-issue kitchen tongs have rounded, scalloped tips that are crucial for touching and turning hot foods on the grill or in a pan. That same shape, however, makes a very lovely, curvy design around the edge of your pie and seals it up at the same time.
Read more: Cake Hacks Every Baker Will Wish They Knew Sooner
Using Tongs For Pie Crimping
Unlike baking a cake, which takes some cooking science to get it to rise, two-crust pies are pretty simple. All you're really doing is cooking some filling between two layers of dough, not unlike a giant pierogi or ravioli. It's important to get a good crimp all the way around the edges of the pie, however, because the filling will get hot and expand in the oven. When it starts bubbling around inside the pie it'll push right out the sides of the crust if the two layers aren't sealed properly. Not only will this make a big mess of your crust and pie dish, the filling can also spill out onto the bottom of the oven, where it will burn and smoke and be a huge pain when you have to clean your oven.
Pinching two pie crusts together works, but it's not the most stylish way to close the two layers. For a pattern that's a little more eye-catching, grab your kitchen tongs and hold them in the open position, so you can use just the outside of one side. With the crust layers laid on top of each other and the excess already trimmed away, press about an inch of the tong's tip into the crust. You should be able to get the curve of the top plus about half of the first rounded edge imprinted into the dough to make a pretty pattern. You can dip your tongs in flour as you go so they don't stick to the dough.
Finish Crimping And Bake
Once you have the first crimp pressed into the pie crust, work your way around the rest of the edges of the pie. Try to stay consistent with your crimps so that the pattern looks even, and instead of trying to move your arms around the pie in front of you, rotate the pie so that the section to be crimped is straight ahead. Reaching around the pie, especially while you're holding the tongs at a weird angle, will cause you to make diagonal crimps in some places.
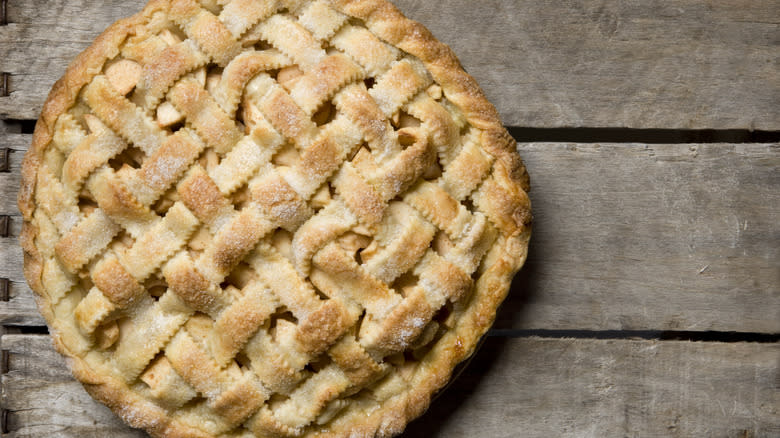
When you're done crimping, make any last-minute adjustments around the edges if you need to, then make a couple of small, strategic cuts in the center or in a pattern around the top of the pie for the hot filling steam to vent. If you're making a pie with a lattice top, you won't need to make any vents.
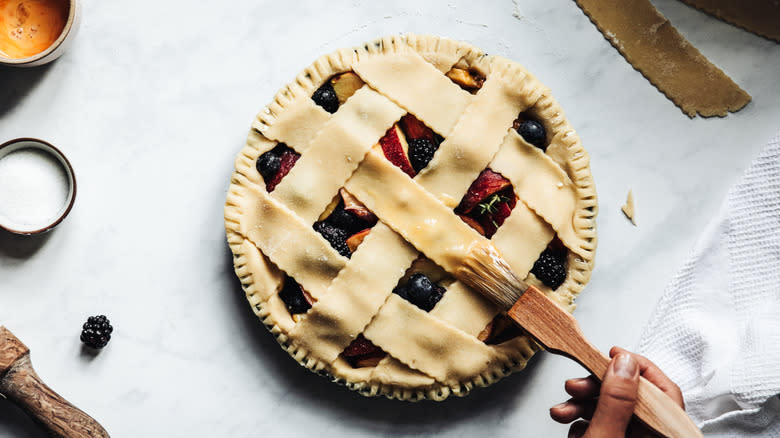
Once the crimping and primping are done, all that's left to do is brush the top of the pie with some egg wash to make it brown and shiny in the oven. If your pie has to bake for a long time, protect that fancy crimping pattern by wrapping the pie edges in aluminum foil before it bakes, this will keep your edges from burning.
Read the original article on Daily Meal.

