
How to Grout Tile in 6 Simple DIY Steps
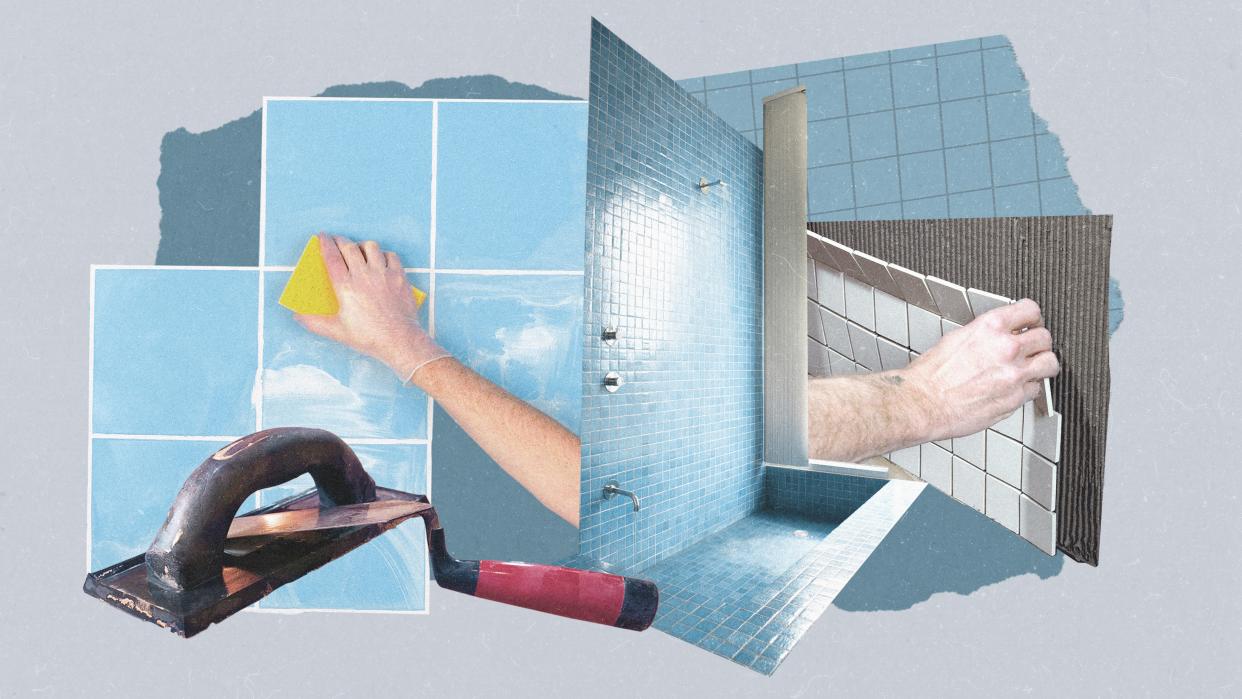
Illustration: Ellie Schiltz/Getty Images
Wondering how to grout tile correctly? It’s a fair question, given the task is seen by many as a challenge juuust beyond their DIY abilities. But with a bit of confidence, a little patience, and a lot of expert input—which we’ve rounded up here—you’ll be able to grout floor tile, wall tiles, backsplashes, and more, without the help (or expense) of a professional.
Whether you’re looking at a brand-new tile job or you want to replace old grout with a new batch since things have started to look a little grimy, we’ve got you covered. And while it’s certainly not the most luxurious material you’ll use in a renovation, grout plays a big role in the final look of your tile project. With an array of colors to choose from, grout can be used to add contrast or to create a sleek and unified space.
But before you break out the trowel, you’ll need to be prepared for the task; after all, poorly grouted tile doesn’t just look bad, it’s also less stable and more likely to chip or need repairs. To make sure you get the DIY job done right, we reached out to some experts to create a comprehensive guide on how to grout tile, which also addresses some of most commonly asked questions. Read on for a step-by-step outline on the process to get you grouting like a home improvement pro.
1. Choose your grout
There are three main types of grout: cement-based (with or without latex), epoxy, and urethane grouts. “All work, and all have their pluses and minuses,” says Dan Chollet, contract and installation lead at Fireclay Tile. Chollet has supervised large installation projects in Silicon Valley and Las Vegas, including at the Apple II campus in Cupertino, California. Whether you’re working on installing floor tile, a kitchen backsplash, wall tile, or doing any other type of tile job, it’s important to know what your options are.
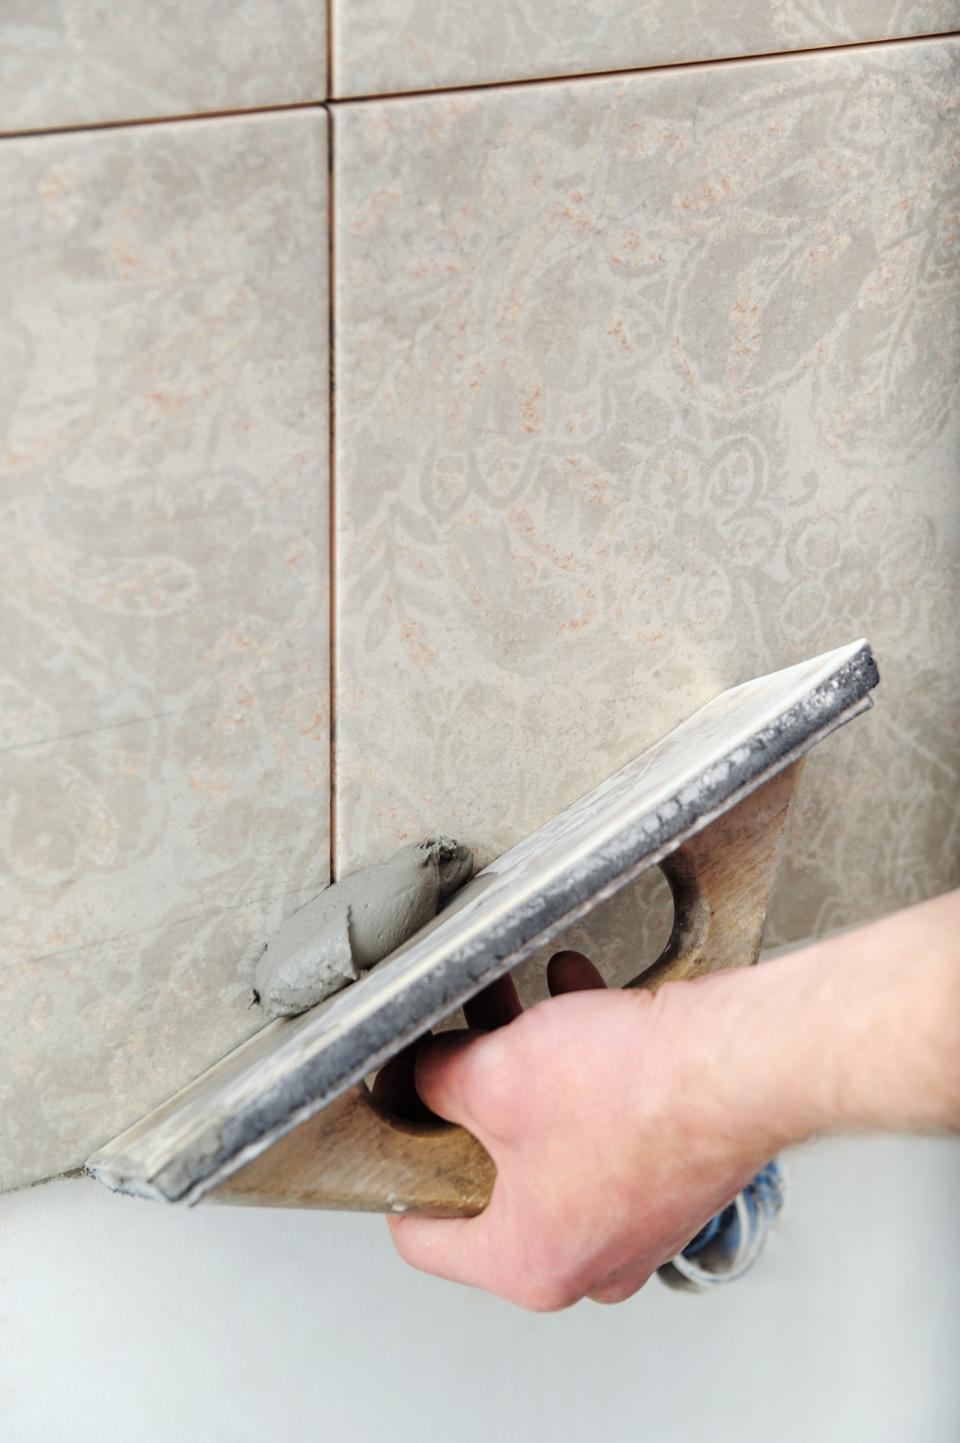
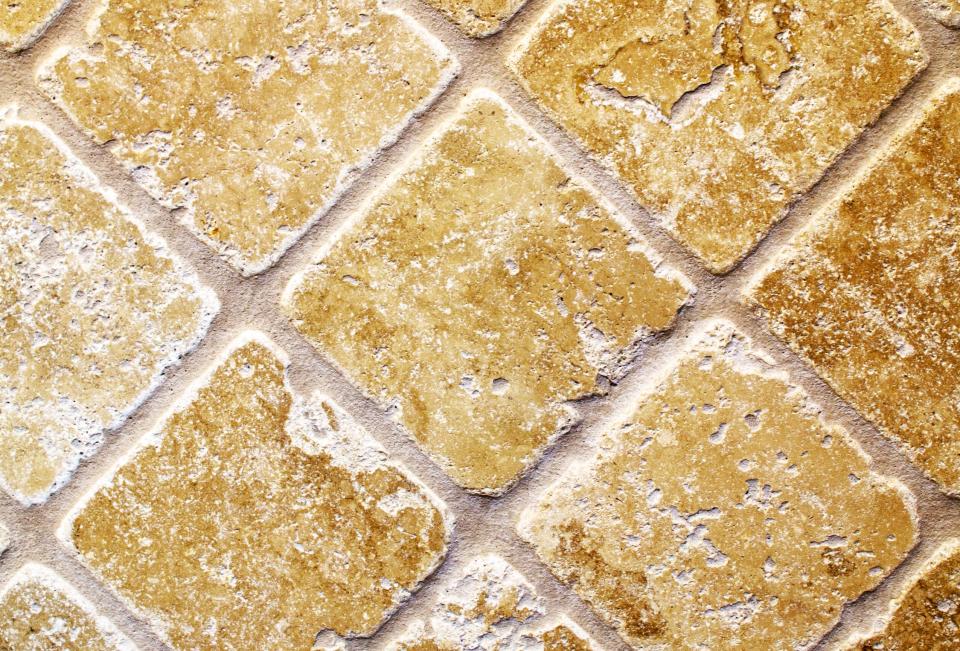
Fill the tile joints with grout.
Cement-based grout
The most common variety used in projects is a cement-based grout, which Chollet notes is also the easiest to use.
“Not all grout is the same,” explains Drew Mansur, cofounder and director of TileCloud. “The type of grout you select, either sanded or unsanded, depends on the width of your tile joints. If you have joints that are wider than 1/8 inch, use sanded grout; if you’re looking at narrower joints, unsanded grout will be your best bet.
Epoxy grout
“Epoxy grouts are expensive, and are usually two-part mixtures with solids and color additives,” Chollet says. “They are used mainly for commercial projects, are much more difficult to install than cement-based grouts, and therefore take more labor.” They can also develop a hard-to-remove grout haze. Chollet does not recommend this type for first-time grouters. (He also cautions that some people can be allergic to epoxies.)
Urethane grout
“Urethane grouts are also expensive, and are premixed in buckets,” Chollet says. “You open the bucket, remix it up, and use what you need. Close the bucket back up, and it should be good to use later. You need to use a very dry sponge when cleaning a urethane grout off tile during grouting.” Urethane grout also needs seven days to cure before being exposed to water, so keep that in mind if you’re thinking of using it in your only shower or near the kitchen sink.
2. Gather your tools and supplies for grouting
According to Chollet, you should have these basic supplies at the ready before you get too deep into your DIY grouting project.
Three to four buckets
Drill and paddle (optional to mix)
Clean cloths or cheesecloth
Rubber gloves
Tarp or paper to mix grout on
Curious why we don’t recommend using a putty knife to apply your grout? The metal blades can scratch your tiles, so even though this toolbox staple may seem like a fine option for your grout installation, it’s best to stick with a proper grout float.
3. Mix the grout
When it comes to mixing up your grout, you do not want to wing it. “Read the manufacturer’s instructions on the bag or box and follow them,” Chollet says. Whatever you do, don’t add too much water. The less water you use, the better the grout’s consistency and strength.
In addition to using as little water as possible, you also want to mix as much as possible. A thorough mixing will ensure the color stays true throughout the entire grout.
4. Do a practice run
Before you start to grout your tile, do a practice run. “You should do a small area first to practice on,” Chollet suggests. “It is always a good idea to make a mock-up. Use a board of around 18 by 18 inches with tile installed, which you can then grout to see what it would look like. I would recommend testing your techniques out on that first.”
5. Apply the grout in small sections.
Apply the grout (as for the amount, aim for a quart to a half gallon of grout mixture) to your tiles and get to work. Using a grout float, work the grout into the joints while holding the float at a 45-degree angle. Make sweeping arcs and work the grout completely into all the joints between the tiles. You can also use your grout float to wipe away excess grout as you go. Work in sections rather than trying to grout the entire wall or floor of tile at once.
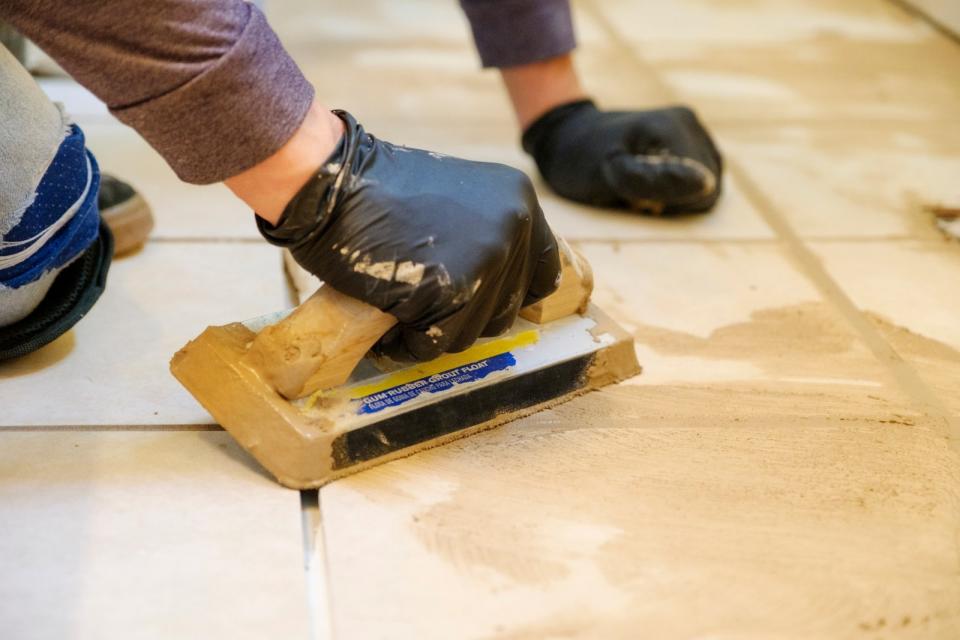
6. Clean tiles thoroughly
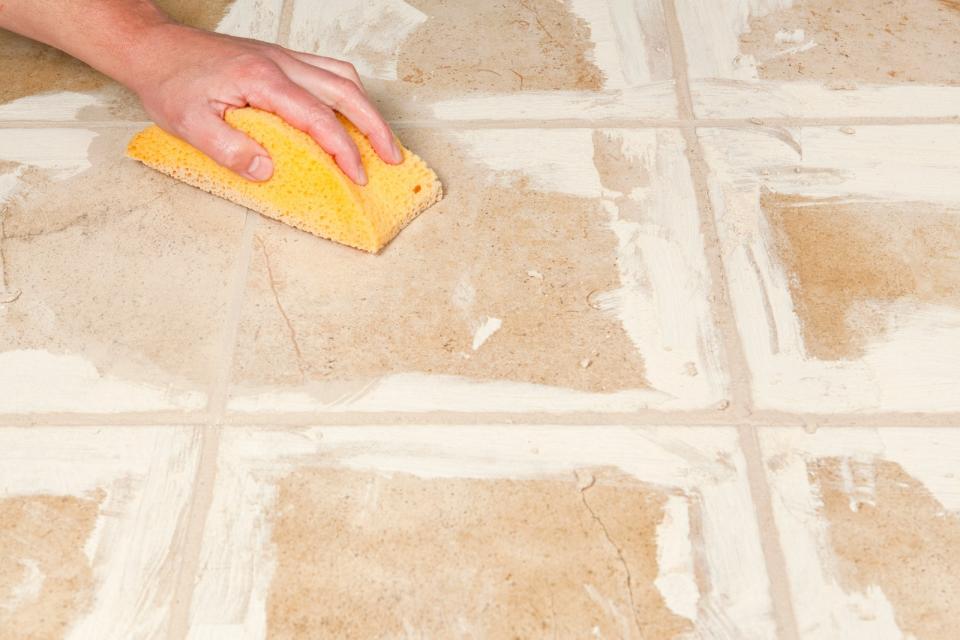
Once the grout sets for a few minutes (see instructions for exact recommended time), wipe down the surface of the tile with a grout sponge. Once the grout hardens, you’ll need to go over it again, rubbing off any grout haze with a cloth, towel, or damp sponge.
In this step, you (again) want to be stingy with water use. “You have to watch out that you do not wash your grout joints out with too much water—make sure the grout has set a little bit before you begin cleaning it off the tile,” Dan says. “And clean your sponges and buckets of water often, since dirty water does not clean.”
How do I prepare tile before grouting it?
“Preparation is key: Before you even think about applying grout, ensure that your tile installation is immaculate,” says Jane Teplitskaya, senior branch manager of AAA Distributor’s Dallas showroom. “Clean any excess adhesive or debris from the tile joints, and ensure they are evenly spaced and uniform in depth. Properly sealed edges and corners prevent grout from seeping beneath the tiles.”
When do I wipe off the excess grout?
“Once the grout has been completely applied, allow it to sit for 15 to 30 minutes (or whatever time the manufacturer suggests) so as to dry up and set enough for the next stage,” says Brandon Walker, superintendent with ASAP Restoration LLC. “Then, use a damp grout sponge to carefully wipe away any remaining grout residue from the surface of the tiles. Try to work in a circular motion around the tiles to not accidentally scrape out any from in between them. Rinse the sponge regularly. This will both help to keep the grout where you want it without pullout and eliminate the grout from the areas where you only want to see tile. After the grout has been cleaned up and made to look complete, let it sit for another 24 to 48 hours. This will allow the grout to completely dry and cure in place. Once it is fully cured, take a wet sponge and go over the entire area once again until the sponge washes clean while rinsing.”
Do I need to seal grout after it’s applied?
Usually no, but there are times when a sealant is warranted depending on the type of grout used and the location where it is installed. “It may depend on the kind of grout mixture that you purchased, but once the grout is completely cured, it may be necessary to add a final sealant to the grouted surfaces,” Walker says. “This will ensure that the grout stays in place and lasts for much longer. It will also prevent water from seeping through the grout layer and into the wall behind it, where it will cause havoc in the form of mold infestations. Not all grout mixtures are the same, so consult the packaging to determine if this step is necessary for your project.”
What color grout should I use?
When it comes to choosing the grout color that will work best in your space, there are numerous options. First, decide if you want the grout lines to match or to contrast with your tiling. Matching or complementary grout will offer a clean look: Picture a wall of white ceramic tile with light-colored grout in the shower or kitchen for a super-sleek vibe. (Note that pure white grout will be the hardest to keep clean, so you probably want to opt for a light beige or gray.)
Or if you want to have a little more fun with your tiled space, you can test out a color for your grout: We’ve noticed colored grout appearing in some of the coolest bathroom spaces recently. Whether yellow, blue, or pink, these details bring a bit of vibrancy to your most-used spaces. Head to your local hardware store to browse all the options before making your final decision.
Choosing the right grout color can make a backsplash, wall, or an entire room pop, whereas choosing a bad grout color can ruin an interior’s vibe. Architect and interior designer Carol Kurth, principal of Carol Kurth Architecture + Interiors, suggest using grout sticks to decide which hue will work best. “The best ones are those brands that use real grout rather than plastic. And always test again with powder in the joints to do a test sample,” Kurth says. “The choice of creating a highly contrasting grid of joints, even having blue grout with white subway tiles versus white tiles and white or pale gray grout, is the biggest question when selecting grout. There are metallic grouts, vibrant colors, and shades of every hue. I often mix grouts if I’m aiming for a subtle color match.”
Originally Appeared on Architectural Digest
More Great Stories From AD It Yourself
47 Kitchen Organization Ideas That Declutter Cabinets, Countertops, and More
The Cringiest DIY Trends According to TikTok’s Favorite Designers, Decorators, and DIY’ers
How to Propagate Pothos Plants at Home: A Step-by-Step Guide
Not a subscriber? Join AD for print and digital access now.
Browse the AD PRO Directory to find an AD-approved design expert for your next project.

