

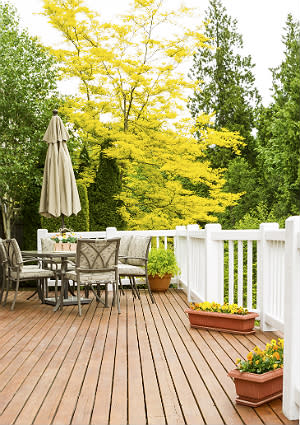
How To: Stain Pressure-Treated Wood
Pressure treating protects wood from the elements, helps prevent insect attacks, and minimizes the effects of aging. While pressure-treated wood offers many benefits, structures built from it often leave something to be desired in appearance. But armed with a few simple techniques, you can stain the surfaces, giving them both a more beautiful look and additional long-lasting protection. Staining also helps protect the wood and prevents it from cracking and splitting when seasons change. With these effective steps, you can enhance your deck, fence, or other structure and enjoy it for many years to come.
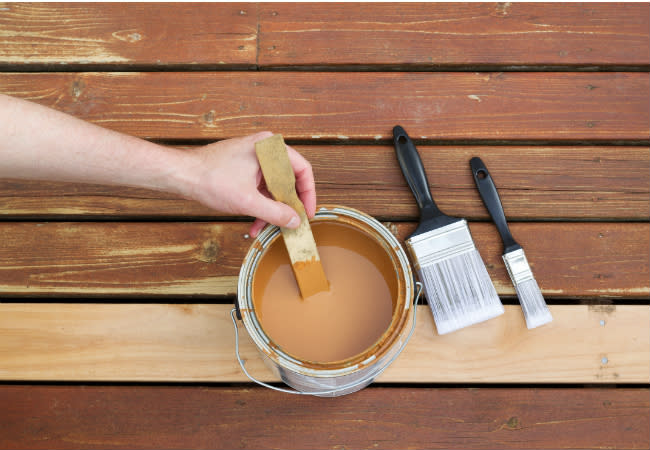
TOOLS AND MATERIALS
- Pressure washer
- Deck cleaner (optional)
- Nails
- Wood stain
- Paint stirrer
- Brush
[inset]
STEP 1
Before you stain pressure-treated wood, you should clean it first. The easiest way to wash new wood is to knock loose any dirt or residue using a pressure washer. If you're dealing with older wood, however, you'll need to take additional steps in order to remove stains and years' worth of built-up grime. Stop by your local hardware store to pick up a specially developed wood cleaner for decks, fences, or other wood structures, and follow the product's instructions for a thorough cleaning.
STEP 2
It's important to wait until your pressure-treated wood is completely dry before applying stain, as the chemicals used to treat the wood often leave additional moisture behind. Drying times range anywhere from a few weeks to a few months, depending on such factors as weather and climate.
When you're ready to proceed, there are a few effective ways for testing the level of moisture in the wood. The first is a bead test, which is performed by simply dripping small amounts of water on the wood; if the water beads, then the wood still retains some moisture. Alternatively, simply press a nail into the wood to test for wetness. If water seeps out around the nail while it’s being pressed into the wood, then more drying time is needed.
STEP 3
Check the weather forecast to make sure no rain is expected. Stain applications need about 24 to 48 hours of drying time, so you'll need to be certain that the skies will remain precipitation-free during that time.
STEP 4
Next, thoroughly mix the stain. You can have the hardware store do so at the time of purchase, or you can just shake it well at home. Either way, continue to stir the stain frequently as you work to ensure the best application.
STEP 5
While it may be tempting to rush to finish the project completely, always test the stain in an inconspicuous spot. Select a small area and brush on the stain, allowing it to dry before proceeding to work on the entire structure. This test patch will help ensure that you'll be happy with the completed project before you sink hours into it, and will also confirm that the stain will go on properly and without any issues, such as wetness.
STEP 6
If all looks good, continue staining the rest of your pressure-treated wood. As you're applying stain to pressure-treated wood, keep in mind that back brushstrokes constitute additional coats and may cause color variation. If you are staining a fence or other vertical surface, start at the top to ensure that you'll cover any drips or runs as you work your way down. Remember that exposed ends of wood may need additional staining, due to greater absorption.
Related Articles

