
This Simple Trick Will Change How You Frost Brownies
Kiss the crumb-filled frosting goodbye.
Dotdash Meredith Food Studios
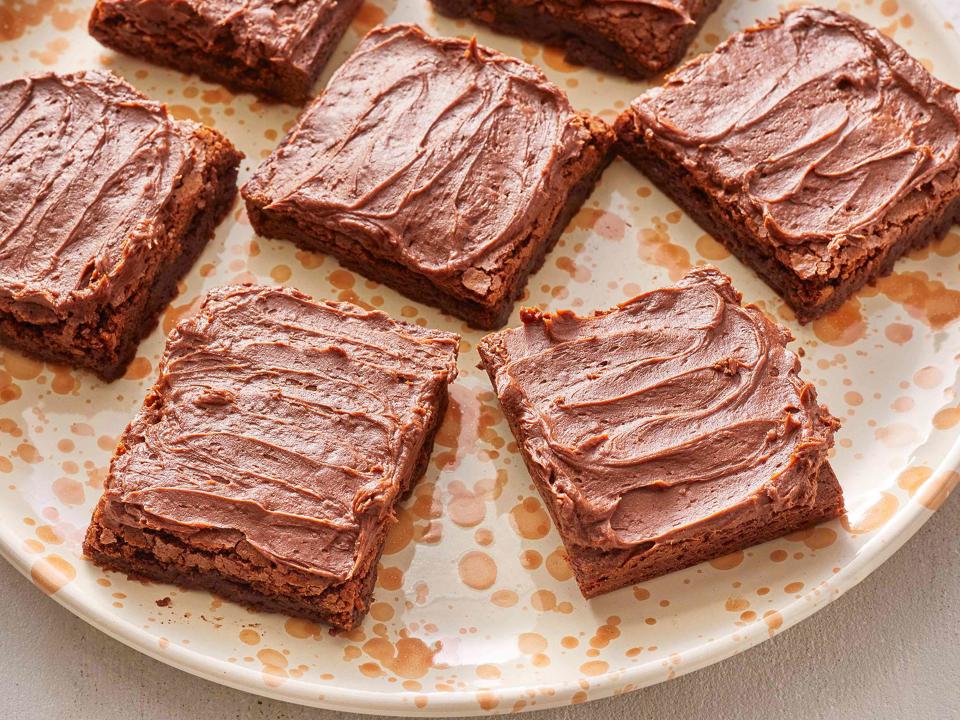
Brownies, the supreme beacon of chocolatey goodness that they are, are divine as they are—no frills or flash required. However, you do want to add a little something extra, frosting your brownies is a superb way to go about it.
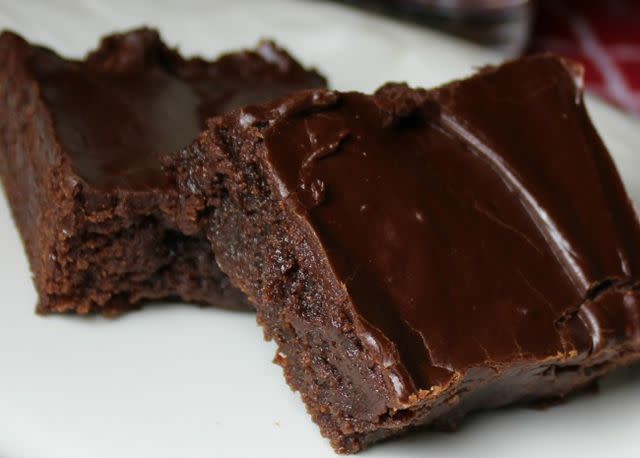
Of course, if you’ve ever frosted a batch of brownies, you likely know that the shiny, crackly top can become troublesome once you start spreading icing around. Although this thin, crinkled layer indicates you have a solid pan of brownies on your hands, it can easily flake away and become mixed up in your frosting. The result? Your icing job will end up looking kind of crumby.
There is, however, one sure-fire technique for frosting brownies that will guarantee a seamless, crumb-free finish, every time.
How to Frost Brownies
The key to making easy work of applying frosting to a batch of brownies is flipping the uncut pan upside-down, just as you would a cake layer. This way, you will be able to apply your frosting to the smooth underside of the brownies, which means no crackle-top crumbs. Here’s how it’s done:
Step 1: Prepare Your Baking Pan
For most brownie recipes, you need to grease and flour your baking pan; however, when your ultimate goal is to cleanly flip the baked brownies out of the pan, you’ll want to take extra care with this step. I like to give myself an added layer of security by cutting a piece of parchment paper to fit the bottom of the pan and lining it once I’ve greased and floured the sides. After placing the parchment in the bottom of the pan, you can brush the paper with a very small amount of oil or give it light a spritz of Baker’s Joy to hold the parchment in place if it refuses to lay flat.
You can also cut a larger strip of parchment paper that will line the bottom and two sides of the pan and extend over the edges a bit to provide “handles.” These paper edges will allow you to safely lift the brownies out of the pan once they’ve cooled, and you can flip the brownies over after removing them from the pan.
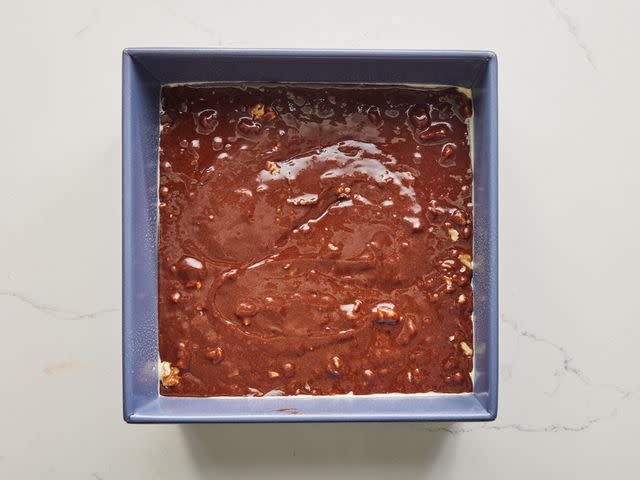
Step 2: Prepare and Bake the Brownies
Whether you’re using a box mix or baking from-scratch, follow the package or recipe instructions, taking care not to over-bake.
Dotdash Meredith Food Studios
Step 3: Decide on Your Frosting
There are two basic camps of icing when it comes to brownies: fluffy, buttercream-style frosting and a dense, sleek fudge frosting. The type of frosting you choose will determine how extensively you need to cool your brownies before frosting.
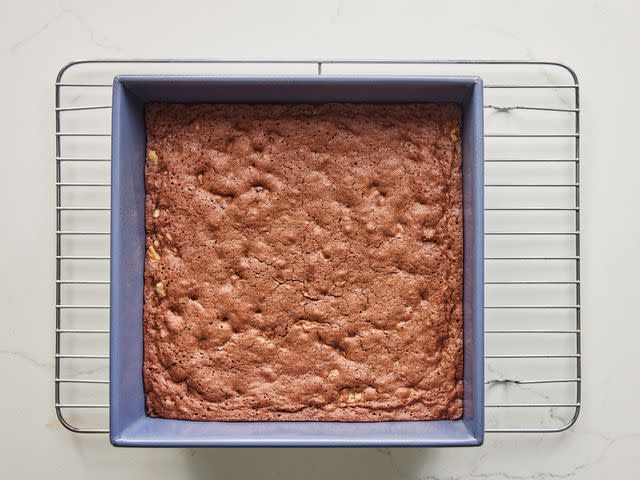
Step 4: Cool the Brownies
Adequately cooling brownies is not only important for frosting them, but it’s critical to achieving clean slices when it comes time to cut the individual bars.
If you’re going with a fluffy, buttercream frosting (the type you’d use for a typical cake), you will need to cool your brownies completely before applying the frosting. This is because any residual heat from baking will melt the fat in your buttercream, causing it to weep and eventually liquify over the surface of your brownies. To avoid this sad fate, cool your brownies in the pan, placed on a wire baking rack for 1½ to 2 hours; and once they’re turned out of the pan, you’ll want to cool them for at least 1 hour longer.
For those using a fudgy brownie icing (something similar to what’s used for Texas sheet cake), you don’t need to wait until “completely cool.” This style of frosting is easier to spread when the brownies are still slightly warm. That said, with less in-pan cooling time, the center of your brownies will not be as well-set, and flipping them out of the pan will be a more delicate operation. (It’s by no means an impossible task, just keep this in mind when it comes time for Step 6.) Before frosting, allow the brownies to cool in the baking pan, place on a wire rack for 45 minutes to 1 hour; once they’re turned out of the pan, no additional cooling is necessary.
Dotdash Meredith Food Studios
Step 5: Run a Knife Around the Edges
As you would cake layer, carefully run a pair knife or butter knife along each edge of the baking pan to help loosen the brownie within.
Step 6: Flip the Brownies
This is the moment of truth—and you can handle it. Place a clean, manageably-sized cutting board on top of the brownie pan, position the board between the palms of your hands and grip the cooled edges of the brownie pan with your fingertips; in one swift motion, flip the board and pan up and over towards you, so that the board is now on the bottom and the brownie pan is inverted on top. Place the board on your counter and give the bottom of the pan a few taps all over before gently lifting it away. Finally, carefully pull away the parchment paper. If the bottom surface of the brownies appears greasy, dab lightly with a paper towel.
If you’re using a buttercream frosting and your brownies need to cool further, place the cutting board on top of the wire cooling rack; otherwise, proceed to the next step.
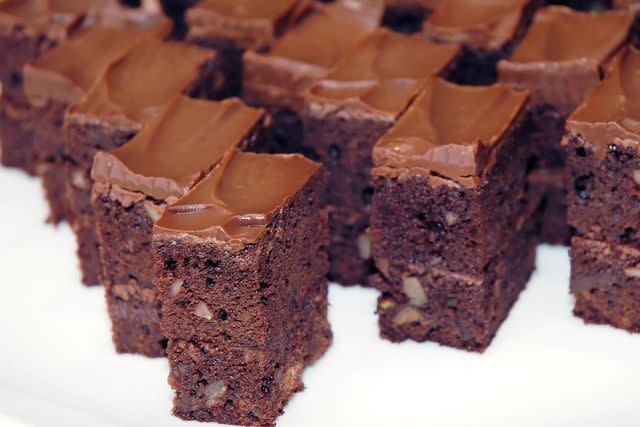
Step 7: Frost Away
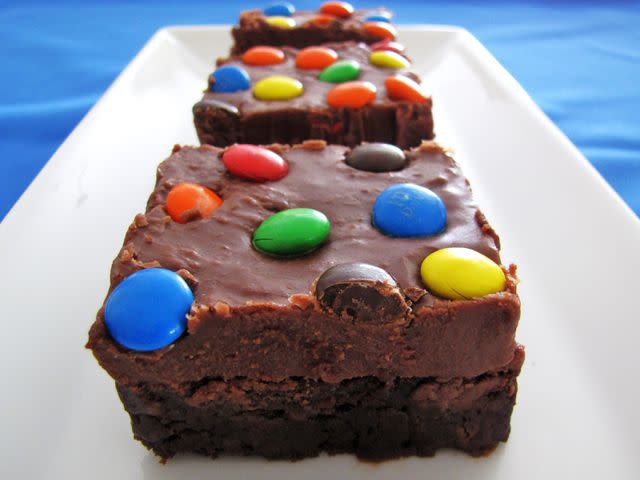
Once your brownies are cooled to the appropriate degree, use an offset spatula to spread your chosen frosting over the smooth, upward-facing surface and enjoy the picture-perfect results. Cut the brownies into squares, transfer to a platter with a spatula (if you feel inclined), and serve.
How to Store Frosted Brownies
All frosted brownies that are not consumed the day they are made are best stored in a lidded container or loosely wrapped with plastic wrap or foil. If using plastic wrap or aluminum foil, you can use baking picks, placed into the frosted brownies, to hold the cover away from the surface of the frosting, like a tent.
Most buttercream frostings and fudge-style brownie icings are okay left at room temperature for 2-3 days, as long as you’re not in a sweltering climate. If you foresee your frosted brownies hanging around for longer than that, transfer them to the fridge within 1 day and consume within a week for optimal quality. If you happen to go with a chocolate ganache topping or cream cheese frosting, however, the brownies will need to be refrigerated on day 1.
As far as freezing goes, already-frosted brownies are not going to fare well in your icebox. So, if you want to prepare in advance, freeze the baked brownies and make your frosting when you’re ready to thaw and serve.
Dianne
Frosting Ideas for Brownies
Although the fudgy frosting mentioned above is a traditional choice for brownies, you can be as creative as you please with frosting pairings. Peanut butter frosting or rich chocolate buttercream are obvious picks for flavor compatibility, but a decadent German chocolate frosting, elegant pistachio buttercream, or a sunny orange frosting would all make for less-expected, highly delicious twists. Explore our entire collection of Frosting and Icing Recipes to stir up your own inspiration.
Read the original article on All Recipes.

