
How to Grow Out Your Natural Nails If They’re Damaged From Gels and Acrylics
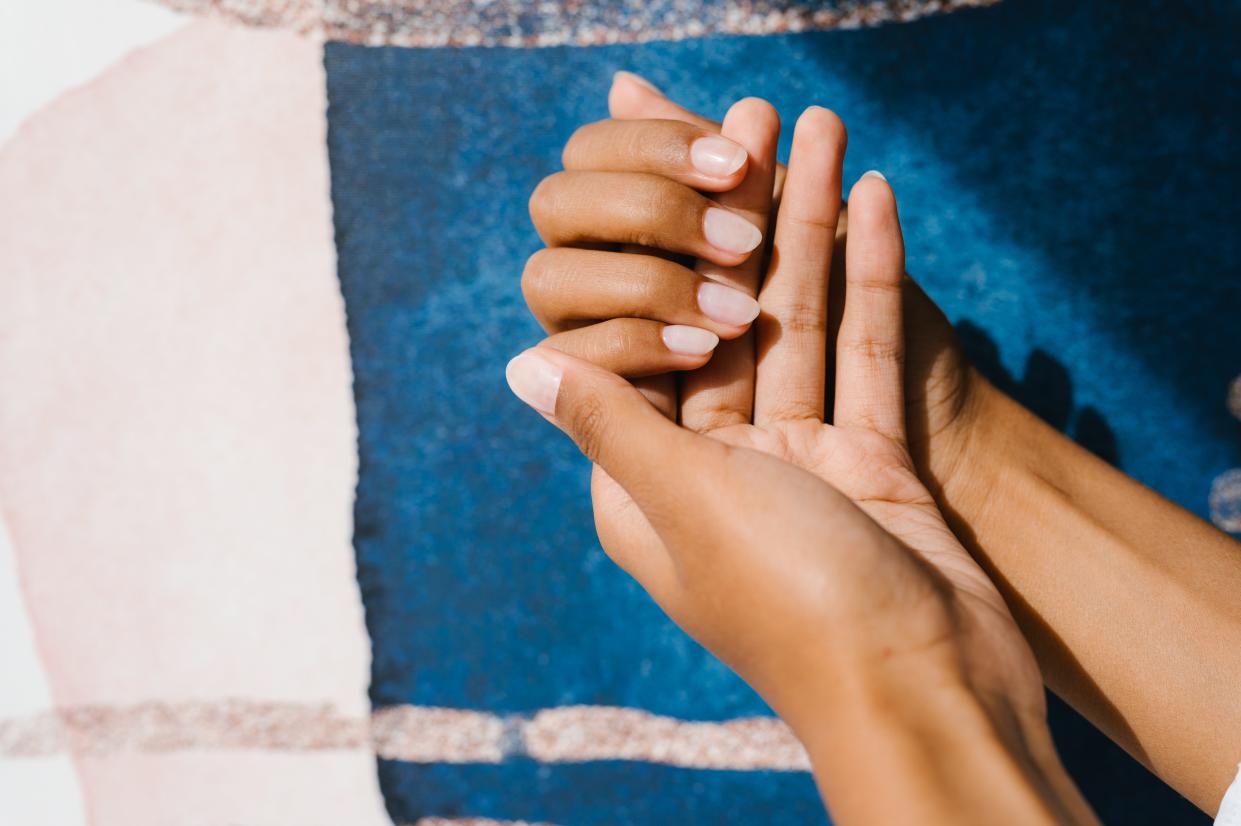
Hvostikova/Adobe Stock
Following in the footsteps of “clean girl” makeup and “quiet luxury” fashion, natural nails are now having a moment. Of course, polish will always be popular, but there’s been a noted cultural shift toward simple manicures lately, with an emphasis on bare, healthy nails. “Beauty trends tend to cycle between phases of maximalism and minimalism. We’re currently in a moment of minimalism,” celebrity nail artist Sonya Belakhlef tells SELF, adding that a lot people are also tired of the upkeep (read: regular salon appointments) required to maintain intricate nail looks.
That’s all fine and dandy—unless years of being a devoted gel- or acrylics-wearer have left your nails in need of some serious TLC. To be fair, it’s not that these types of manicures are damaging in their own right. Rather, the removal process is public enemy number one. “People get impatient and end up ripping or peeling off gel polish or acrylics,” Belakhlef says—a guaranteed way to cause serious damage. Even professional removal, if done incorrectly and with overly zealous filing or scraping, can wreak havoc: Your nails are kind of like a puff pastry, made up of multiple layers that lift and flake off when they’re assaulted in this way, they explain.
All of the above can leave your tips looking, in a word, rough. “This type of damage typically results in surface irregularities like bumps and grooves, as well as peeling, splitting, and breakage,” Dana Stern, MD, a board-certified dermatologist in New York City and the founder of nail care company Dr. Dana, tells SELF.
But don’t reach for the polish in shame: There is hope. If you’re ready to rehab your nails and try a beautifully bare mani, you’ve come to the right place. Here, we compiled a comprehensive list of expert-backed advice for whipping your tips into tip-top shape—so you can fully commit to your natural nail journey.
1. Start with a clean slate.
At the risk of sounding obnoxiously obvious, make sure your nails are completely bare and free of any enhancements or polish. Then, cut them. While it may be upsetting to lose the length, if your nails are flaky and weak, chances are they’re just going to end up breaking anyway; spare yourself the heartache and cut them down short now, Belakhlef advises.
Then, file them into your desired shape, but do so carefully: Sawing away at damaged nails with a too-rough file can further exacerbate peeling and splitting, nail artist Aaliyah Smith tells SELF. She advises using a file that’s at least 180 grit (the lower the number, the coarser the texture). One to try: the Gelish 180 Grit File. Alternately, Dr. Stern recommends a glass tool like the Londontown Glass Nail File, which won’t cause microscopic splits and tears along the edge of the nail—and will leave you with super smooth results. Even so, it’s a good idea to file no more than once per week.
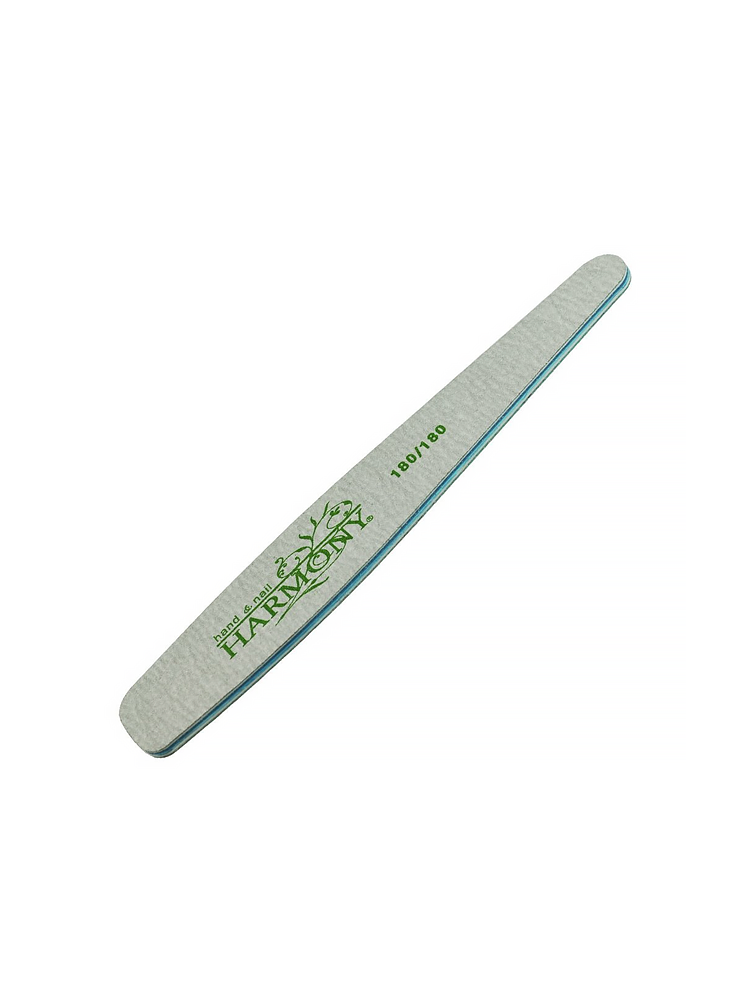
180 Grit File
$8.00, Amazon
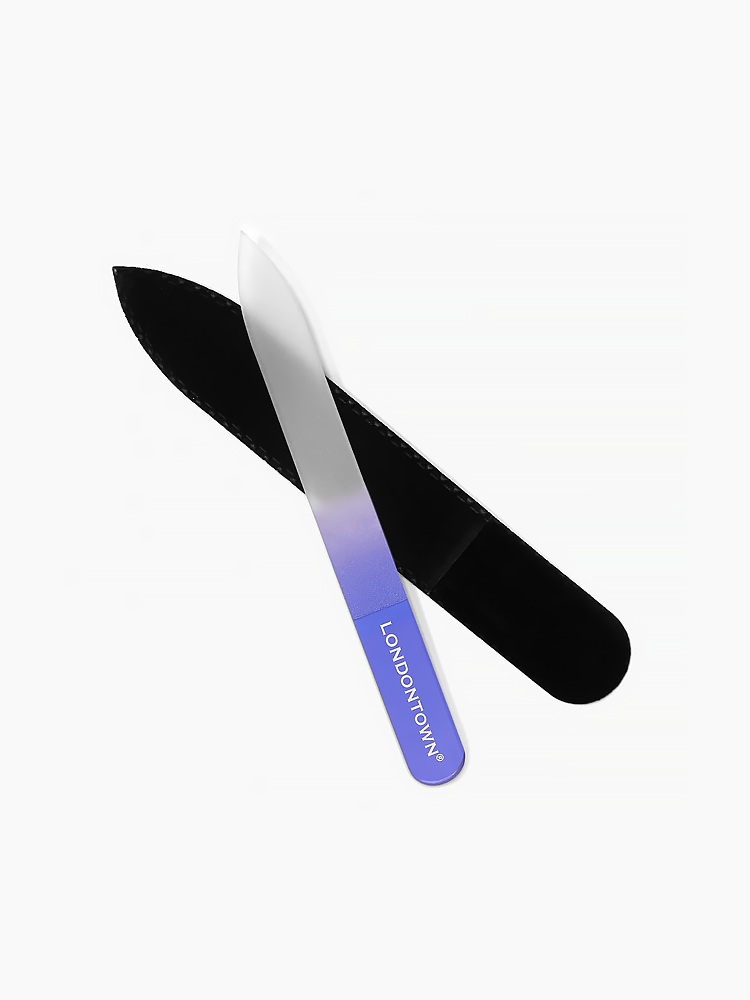
Glass Nail File
$12.00, Londontown
2. Consider exfoliating (yes, your nails).
File this one under “Who would’ve thought?” “It can be helpful to exfoliate, then moisturize. It’s a concept we’re familiar with in skin care, but it’s completely applicable to nails too,” Dr. Stern says. “You want to remove the superficial damage so that you can more effectively treat and hydrate.”.
Belakhlef agrees, adding that it’s one of the easiest ways to ensure the hydrating products you use after the fact (more on those in the next step) penetrate and actually work. You can try a face moisturizer or serum with an AHA, like glycolic or lactic acid—a derm-approved hack you might have seen on TikTok. Or you can buy a dedicated nail treatment: Belakhlef recommends Dr. Stern’s product, the Dr. Dana Renewal System, which boasts an exfoliating glycolic-acid-based formula you can safely use weekly. (Research suggests that glycolic acid is an effective treatment for rough, uneven nails.)
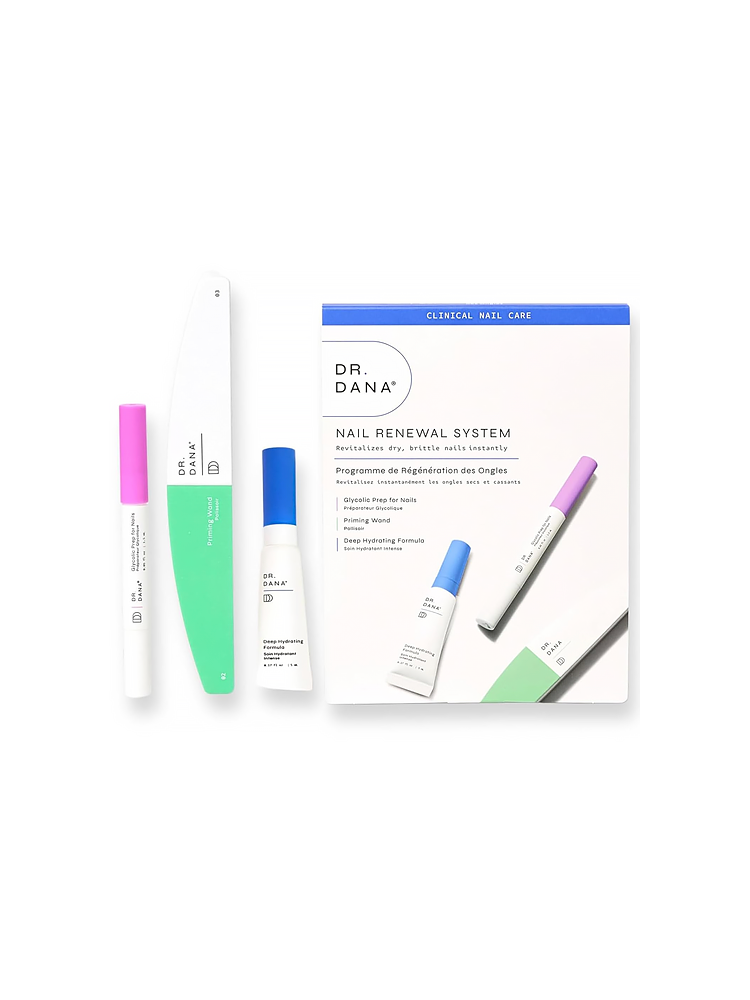
Nail Renewal System
$30.00, Amazon
3. Load up on cuticle oil.
All of the experts we consulted agree: Keeping your nails and the surrounding skin hydrated can work absolute wonders. Your cuticles protect the nail matrix, which is where nail growth starts, Belakhlef explains. (It’s the little whitish half-moon-shaped crescent you can best see on your thumbs.) Just like a healthy, moisturized scalp is imperative for hair growth, keeping your nail matrix and cuticles well-hydrated is key for strong nails, they add. “A plant won’t grow from dry soil, and the same applies to your nails,” says Smith.
As far as the particular product goes, any type of cuticle oil is better than no cuticle oil—although there are some key ingredients to look for if you want to maximize the moisturizing effects. Belakhelf recommends jojoba oil: Since its composition is very similar to our skin’s natural oil, it’s excellent for smoothing and softening without ever feeling greasy, they say. Dr. Stern adds that oils that are rich in phospholipids—sunflower, canola, and flax seed, just to name a few—are also worth seeking out because they’ve been shown to improve nail brittleness and flexibility.
Still, the best cuticle oil is one you’re actually going to use, says Belakhelf. Choose one in a format that will make application easy and fuss-free. We’re big fans of the OPI ProSpa Nail and Cuticle Oil to Go ($11, Amazon) and the Olive & June Cuticle Serum ($16, Target) for that very reason. Massage it into your cuticles and nails at least once per day (Belakhlef suggests bedtime, when you won’t have to worry about any greasy residue)—but the more often, the better.
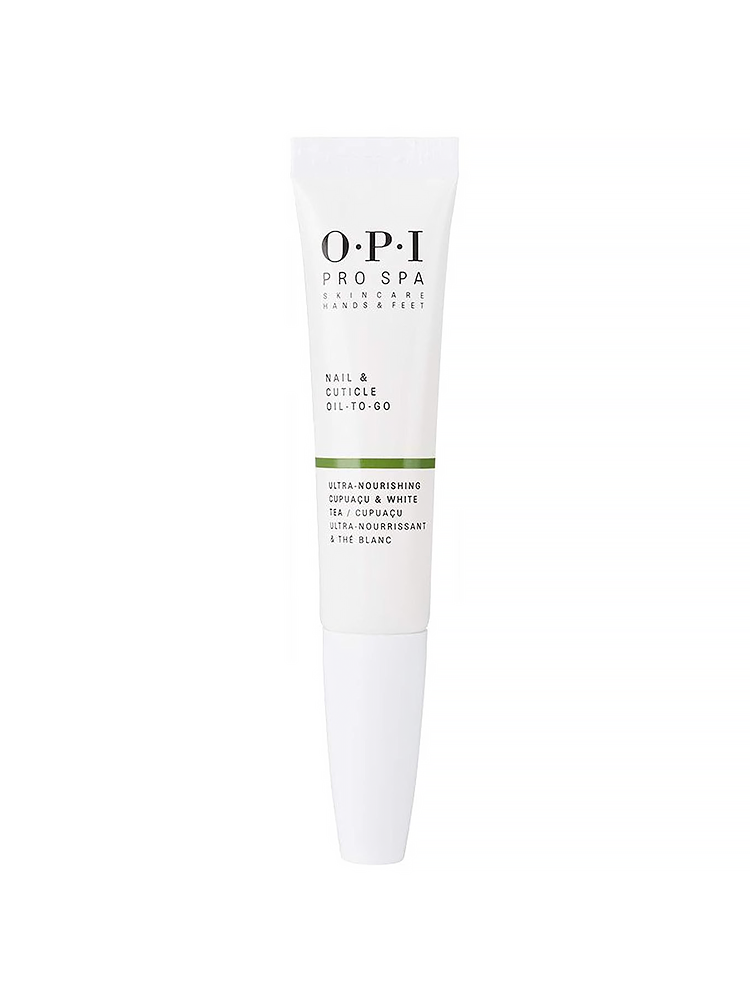
ProSpa Nail and Cuticle Oil To Go
$11.00, Amazon

Cuticle Serum
$16.00, Olive & June
4. Resist the urge to bite your nails…
Cuticle oil’s other big benefit? It instantly makes nails look shinier, the surrounding skin smoother, and dry cuticles and hangnails much less likely. That’s important, particularly if you’re a nail biter, as those dry, scraggly pieces of skin are often what tempt people to start nibbling, Belakhelf points out.
Alternatively, Amy Lin, founder of Sundays nail studio in New York City, suggests looking for something to replace your nail-biting habit, tells SELF. Keep something small in your pocket—a paper clip, a handkerchief—that you can reach for and fidget with any time the urge to bite your nails arises. It’s easier said than done, for sure, and it can take some time to reprogram the habit, but it is possible, Lin says.
Stern agrees that this type of distraction can be very helpful for some people, though notes that addressing a serious nail-biting habit always requires an individualized approach. A few other tactics she tries with patients: applying a bitter-tasting lacquer on the nails, or, in extreme cases, keeping the nails and/or cuticles covered with gloves or bandages.
5. …and to go back to your old gel mani ways.
We get it: Acrylic- and gel-wearing habits die hard, and it can be especially tempting to fall back into your old ways while your nails are in transition—and not yet looking their best. One trick Belakhelf swears by: Distract yourself by wearing a fun ring or bracelet, an adornment that will make your hands look pretty and make you happy to look at it.
If you really can’t be without some kind of nail look while you’re still mid-rehab, temporary press-ons with tabs (meaning they don’t require any glue) can fill that void for a special event or a night out—but they’re still easy to take off and shouldn’t cause any further damage, they add. They like the Kiss ImPress Color Short Press-On Manicure Nails ($8, Ulta).
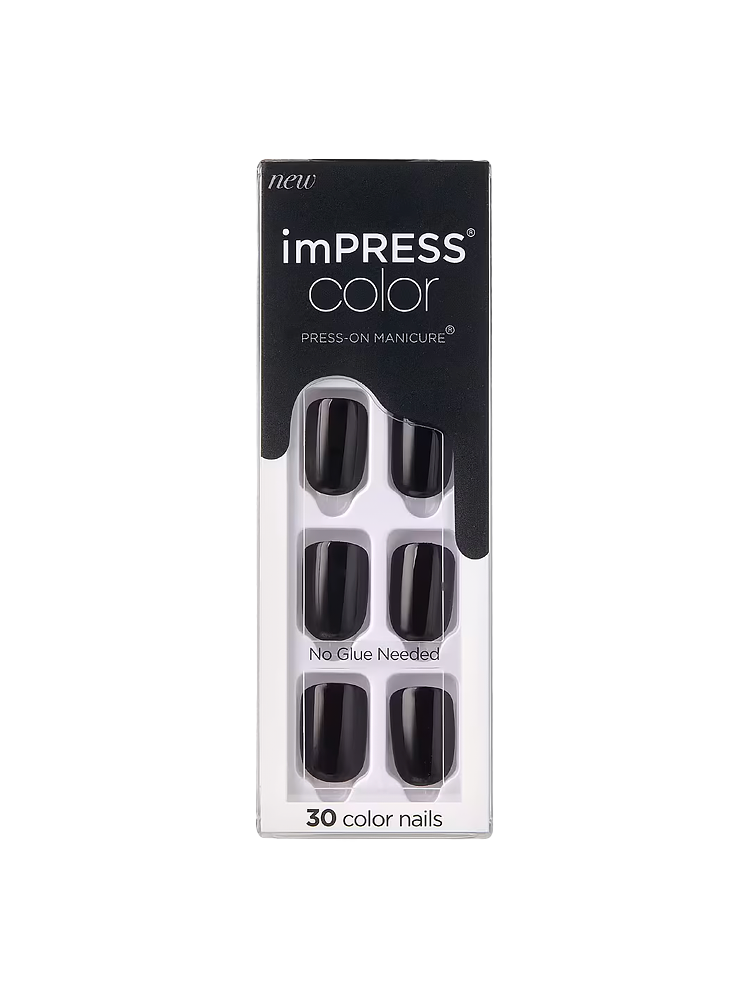
imPRESS Color Short Press-On Manicure Nails
$8.00, Ulta
6. Try buffing—once your nails are healthy.
Lin says she’s seen an uptick in requests for “shiny buff” manicures, a great alternative to polish that leaves your tips with a healthy sheen. However, back away from the buffer while your nails are still weak and peeling, as buffing can end up thinning them even more, Dr. Stern cautions.
Once your plates are in better condition, you can start, so long as you do so correctly. “Many buffers on the market are designed with a level of abrasiveness that’s made for acrylics,” Dr. Stern says. Smith agrees, recommending, again, 180 grit or higher, and adds that using a light touch is also paramount (so don’t push too hard or move the buffer too fast across your nails). Try the Maryton Mini Nail Buffer Blocks ($6, Amazon).
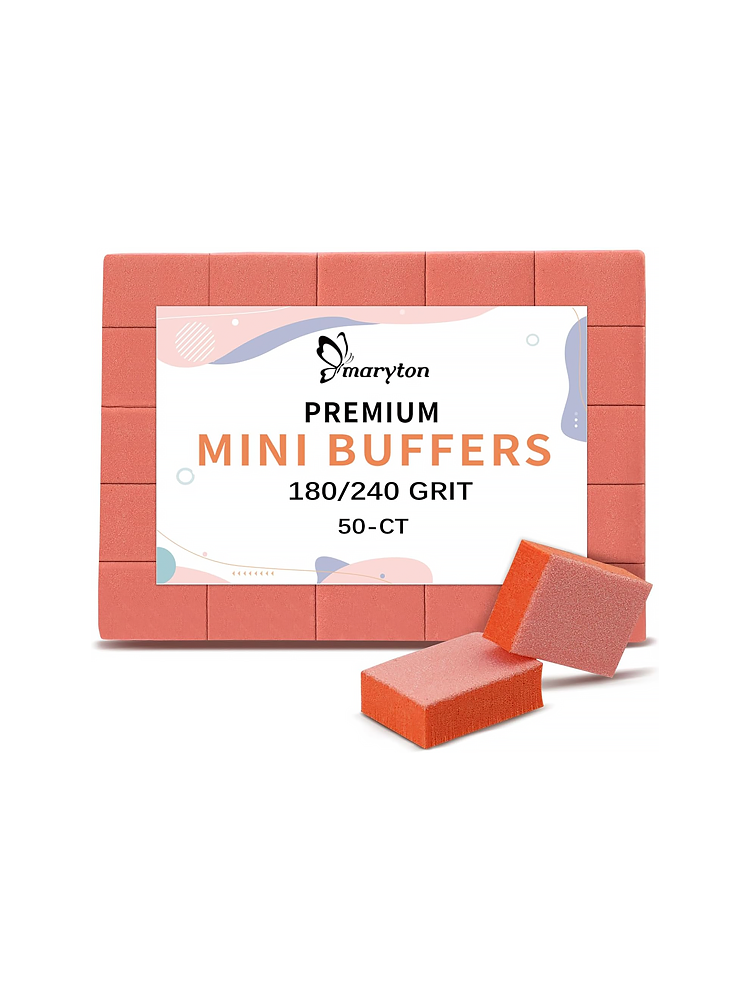
Mini Nail Buffer Blocks
$6.00, Amazon
Congratulations, you’ve now completed your six-step nail rehab program. Does this mean you will never get another gel or acrylic manicure again—or that you absolutely shouldn’t? Definitely not. Rather, consider this a handy (see what we did there?) guide to refer back to the next time your tips need a little extra TLC before you go au natural.
Related:
Get more of SELF’s great beauty tips delivered right to your inbox—for free.
Originally Appeared on SELF

