We independently evaluate the products we review. When you buy via links on our site, we may receive compensation. Read more about how we vet products and deals.
Win the cookout with a homemade ice cream cake — all you need are these 3 tools
I'm a professional baker, but once summer hits, I ditch my hot oven. Here's how to make an easy, impressive frozen treat.
Once upon a time, I worked as a professional baker. And while I currently make a living testing and writing about kitchen products, I still enjoy making homemade treats in my spare time. Once the temperatures start rising, however, I avoid my oven as much as possible — subjecting myself to a sweltering kitchen on a 90°F-plus day is not something I enjoy. So when I get the impulse to whip up a dessert? Homemade ice cream cake it is.
Maybe it's the fact that I'm a summer baby who always asked for ice cream cake in lieu of a traditional birthday cake, but there's something so nostalgic about that first bite of a refreshingly cold, sweet slice — layer of crunchies mandatory, of course. Now that I'm an adult, I can customize it to my liking, and so can you. I promise! Making an ice cream cake at home is a breeze, and everyone will ooh and aah as soon as it hits the table.
That said, you'll want the right kitchen tools. I use these three essentials: a springform pan, an ice cream scoop and an offset spatula. Here's a little TikTok video tutorial I made showing you exactly how it's done:
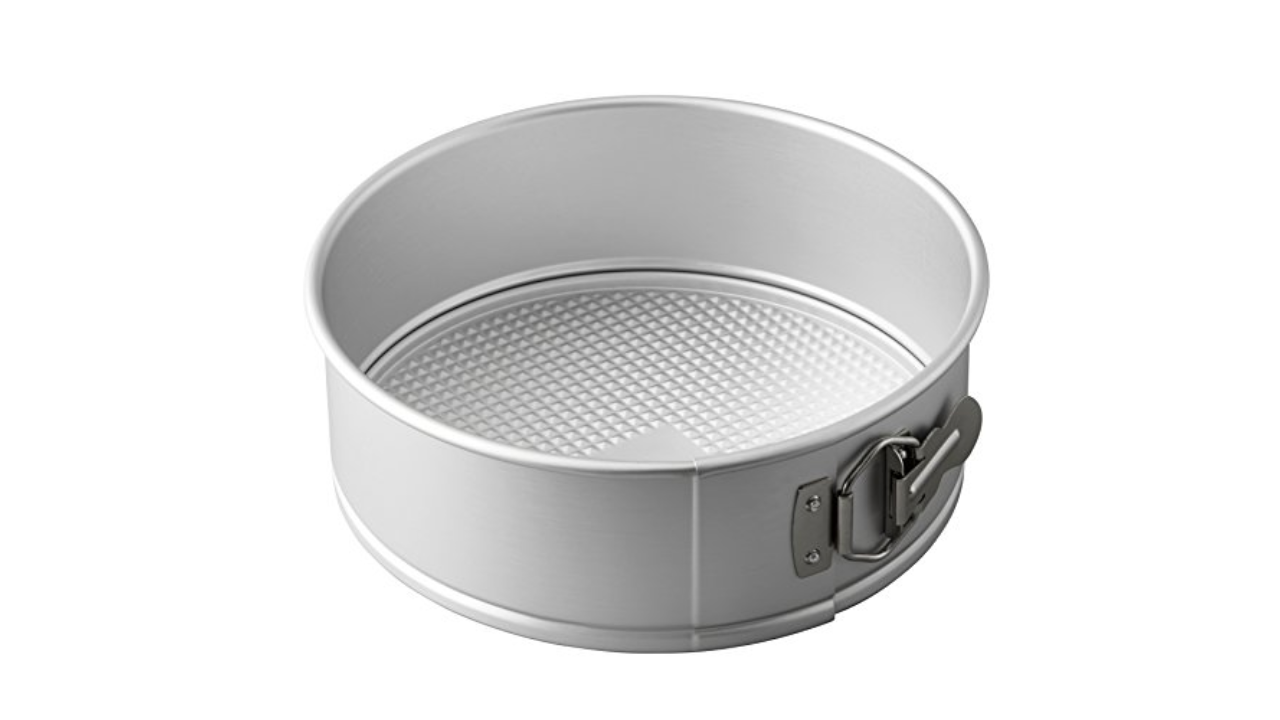
See? It's barely a recipe and more of a process. To start, you'll want the aforementioned springform cake pan:
Wilton is a trusted name in baking gear, and I like using springform pans with textured bottoms, like this one, because they're less likely to stick to whatever you're making. Since the bottom is removable, it makes it easy to pry the cake away once you're ready to flip it onto a plate or serving tray. You can use any size you'd like, but a 9-inch pan is a versatile staple that can be used for cheesecake, deep-dish pizza and more.
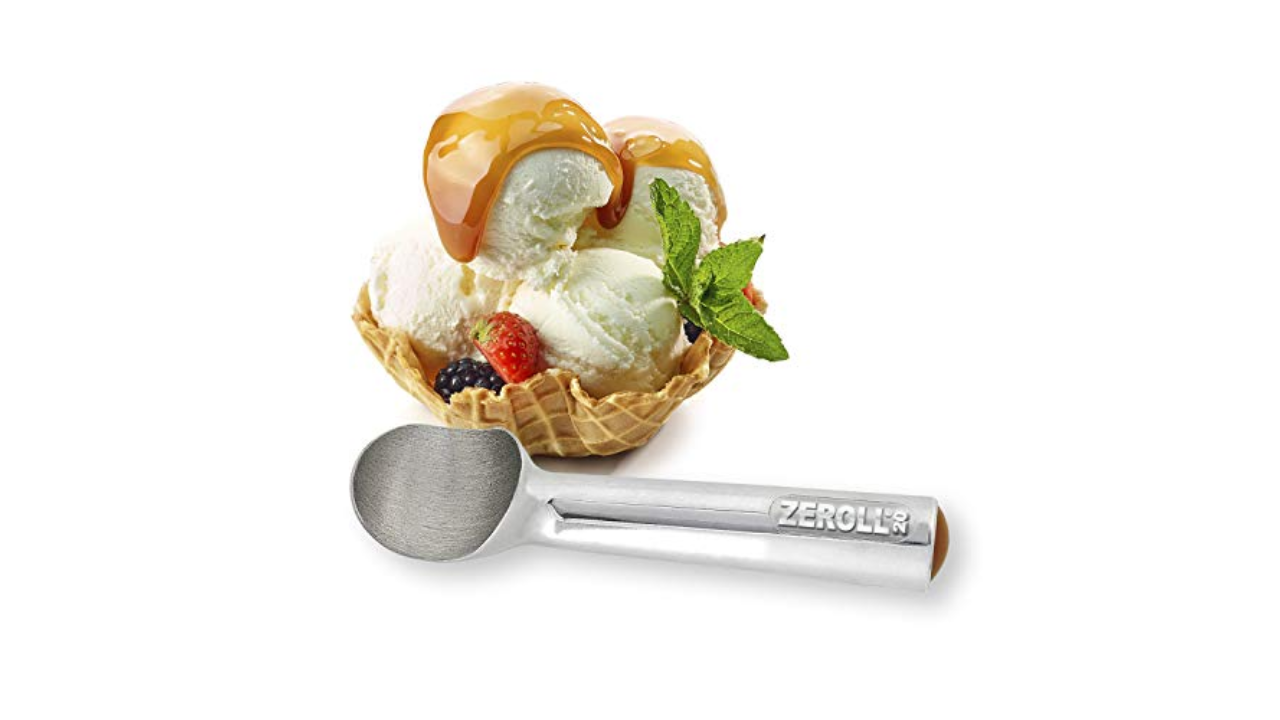
I like to line my pan with plastic wrap (okay, I guess that's one more item you'll need, but chances are you already have some at home). This just provides extra insurance that your cake won't stick and makes it easier to separate the ice cream from the bottom of the pan. Once that's done, I grab my ice cream scoop:
I prefer this style because it helps soften ice cream while you scoop via the warmth from your hands. The shape allows you to get a nice, round ball of ice cream — not so essential for ice cream cake, but it makes for very aesthetically pleasing sundaes. Oh, and you don't have to worry about wearing out your fingers by pressing down on a lever to release. I got mine from my favorite ice cream shop in New York City, and if it's good enough for the pros, it's good enough for me.
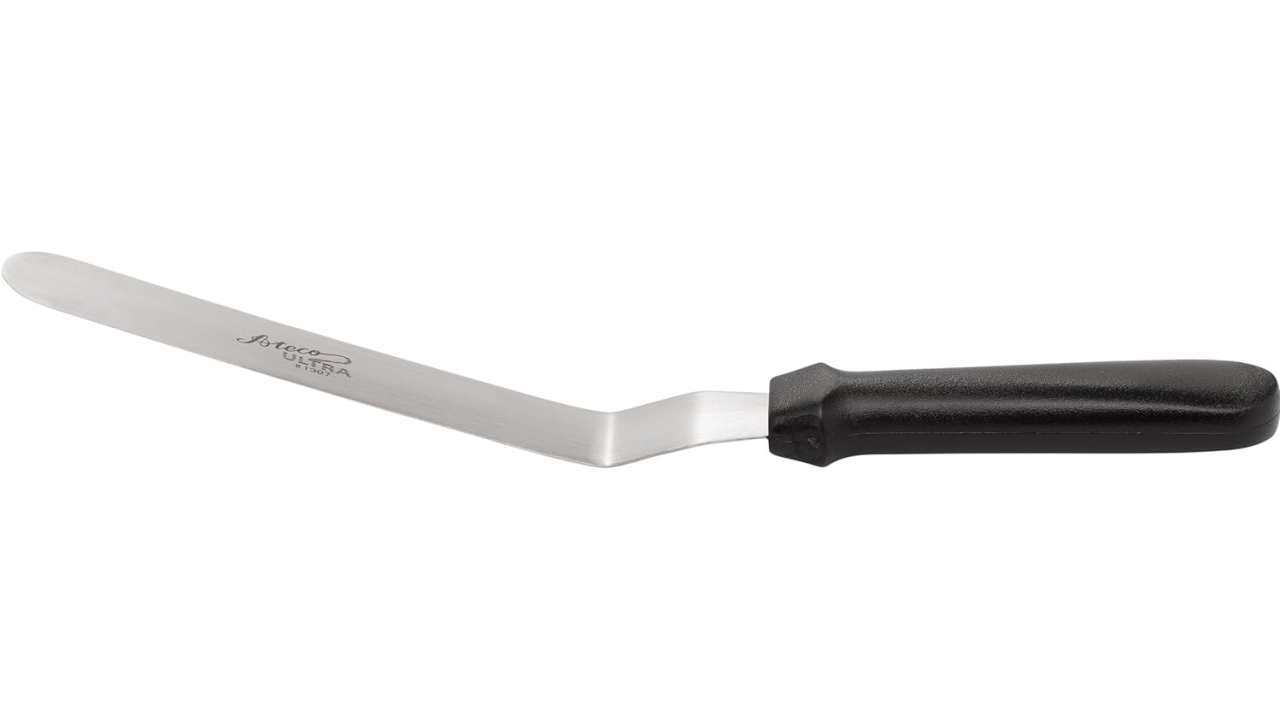
Scoop some ice cream into the pan, enough to cover the entire bottom. You can make this first layer as thick as you'd like, but I'd advise making it at least an inch thick; otherwise, it'll blend into the filling when you slice it. (Scroll up to the photo of the cake I made and you'll see I ran out of ice cream, which caused that to happen — oops! It'll still taste great no matter what.) Once your ice cream is in, it's time to smooth it out with an offset spatula:
Trust me — using one of these is so much easier than, say, a butter knife when it comes to smoothing out ice cream. It's wider, which allows you to cover more area at once, and because it's flat, you'll get a nice, even finish on top. I use mine for frosting cakes, leveling out brownie batter and even prying baked goods out of pans, and with Ateco, you know you're getting a quality product. These come in several sizes; I'd advise getting one that's slightly shorter than your pan's length — like this 7.75-inch blade.
After you've smoothed out the first layer of ice cream, it's time for fillings. (You might need to chill your base first if it's looking soft.) I always like a crunchy element — I often use pretzels for a bit of salt, but crushed Oreos, graham crackers, nuts or any crispy cookie will be delicious. I recently spread a layer of peanut butter over my ice cream and pressed my pretzels into that for even more flavor, but you could use chocolate fudge sauce, Marshmallow Fluff, caramel sauce ... the world is your oyster, er, ice cream cake.
Once your fillings are in place, you can add more ice cream over top, smooth it out and chill your cake in the freezer. I usually make a two-layer cake to keep things simple, but if you'd like to stack it high, make as many layers as your pan allows! Once the stack is frozen solid, unmold it from the pan and flip it onto a plate so you can remove the plastic. From there, decorate however you'd like. I typically frost mine with homemade whipped cream, but you can keep things as simple as adding some sprinkles.
If you're like me and prefer to avoid artificial food coloring, these plant-based sprinkles are just as vibrant and will liven up any dessert you make this summer.
Homemade ice cream cake pro tips:
It will be much easier to spread your ice cream if it's a little soft — just don't let it melt too much!
The freezer is your best friend; as you construct your ice cream cake, feel free to pop it back in to chill as needed. If it gets too melty, it won't hold its structure and will be a pain to work with.
While I generally like to make as many of my desserts from scratch as possible, I'll echo my icon, Ina Garten, and say "Store-bought is fine!" when it comes to ice cream. I did make my own whipped cream, but it's not necessary.
As much as I love soft serve, it's not ideal for ice cream cake. In order for the cake to keep its shape, you'll want to use harder ice creams.
Keep the cake frozen until just before you're ready to serve it. If it melts too much, it will be more difficult to cut into neat slices.
Don't worry if it doesn't come out "perfectly" — it's ice cream, so everyone will love it, no matter what!
If you have Amazon Prime, you'll get free shipping, of course. Not yet a member? No problem. You can sign up for your free 30-day trial here. (And by the way, those without Prime still get free shipping on orders of $35 or more.)


